If you publish recipes on your website, you can help searchers find your content by using structured data – in the form of the Recipe Schema type – to provide information such as ratings, cooking and preparation time, nutrition information, and more.

This helps search engines better understand the contents of your recipe and present it to their users (i.e. searchers) in unique ways through the use of SERP features (such as rich snippets) in Google Search results and Google Images. Fortunately, applying the Recipe Schema type to any number of pages on your website couldn’t be easier than it is with the help of Rank Math.
Table Of Contents
How to Add Recipe Schema Markup to Your Posts/Pages
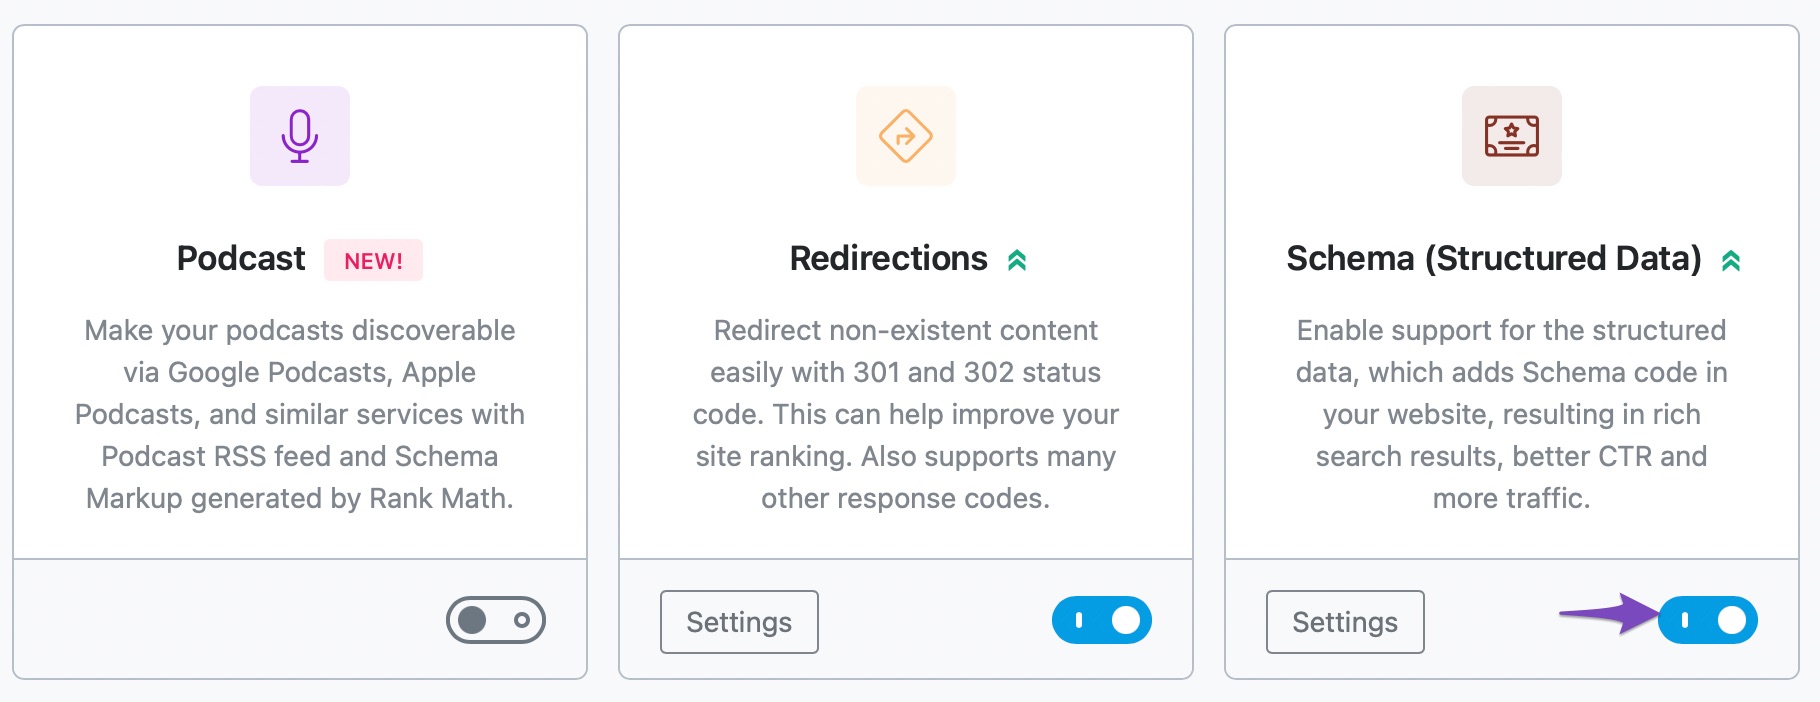
Before we begin, you’ll need to ensure that Rank Math’s Schema Module has been enabled on your website by navigating to Rank Math > Dashboard in your WordPress admin area.
In this tutorial, we’ll walk you through how to use the Recipe Schema type on a post or page, as well as the various available settings for it – let’s get started:
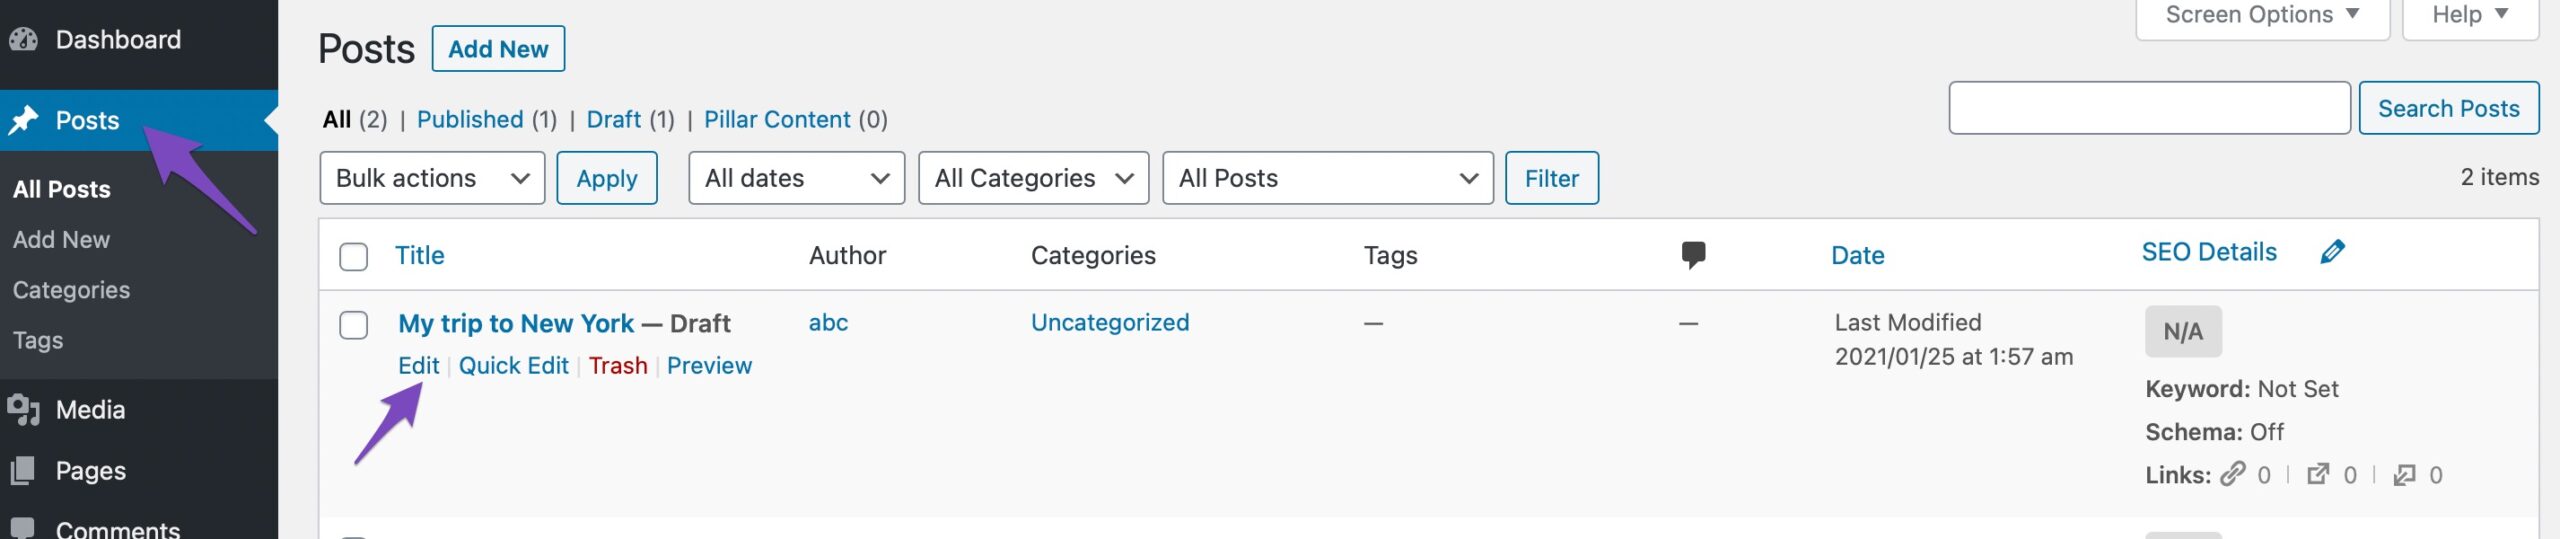
1 Edit Your Post or Page
To add the Recipe Schema Type, first head over to the edit page for that post, by clicking Edit as shown below:
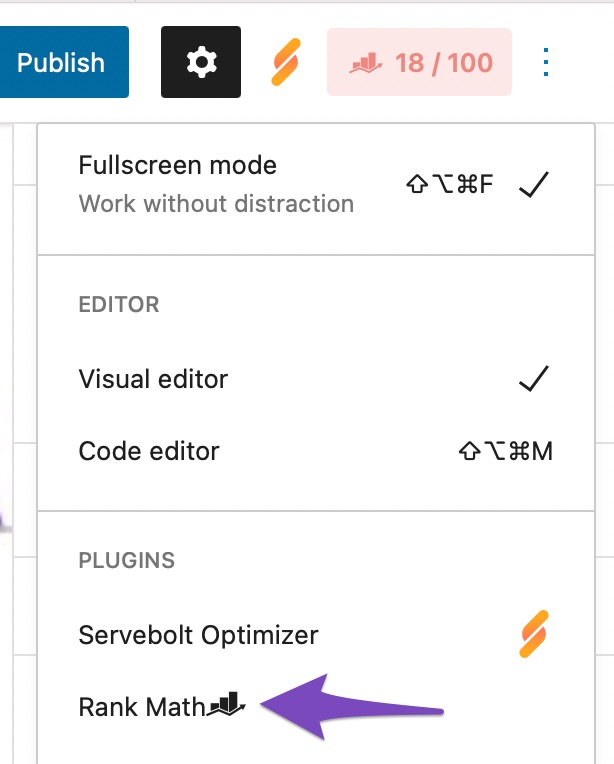
2 Open Rank Math In The Gutenberg Sidebar
You can open Rank Math in the Gutenberg sidebar by clicking on the Rank Math SEO icon for the page.
Or click the three vertical dots in the top right-hand corner of the edit page and select Rank Math in the Plugins section as shown below:
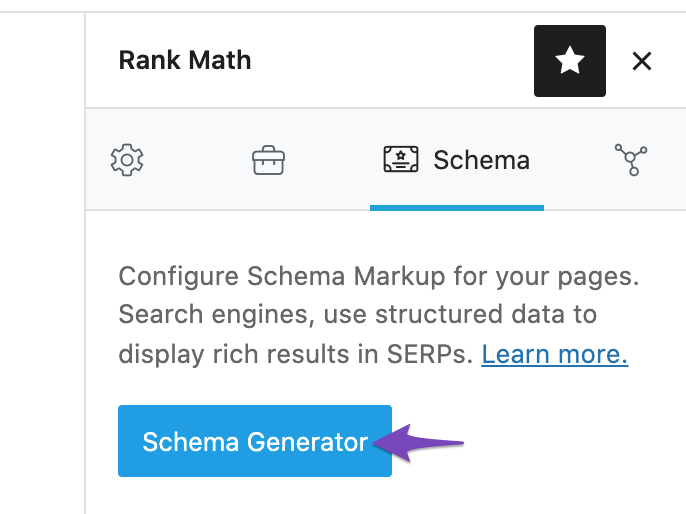
3 Navigate to the Schema Settings for This Post/Page
Navigate to the Schema Settings by clicking on the Schema tab and then clicking on Schema Generator.
4 Open Rank Math’s Schema Builder
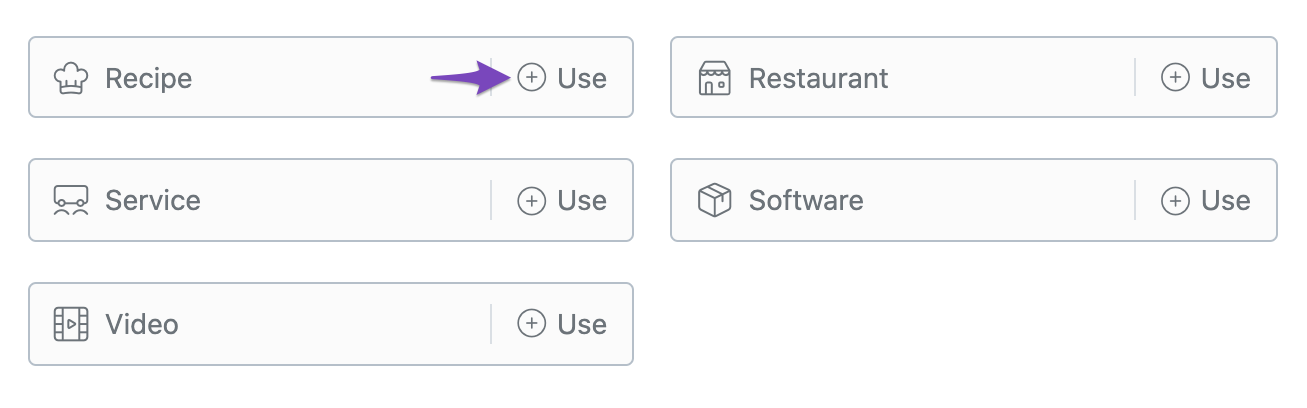
Find Recipe Schema from the list and click on Use to open the Schema Builder.
The Schema Builder will then open up with the various options as shown below:
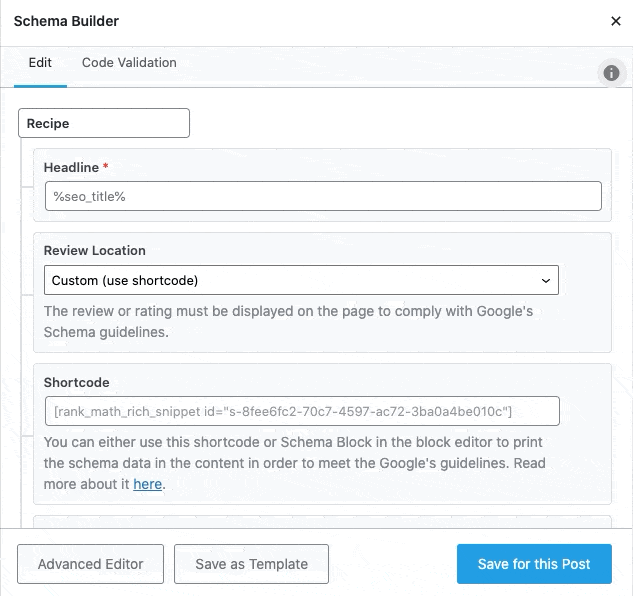
Now, let’s have a closer look at each of the available options.
Recipe Schema Type Setup & Available Options
1 Headline
Write a headline that makes the name of your dish. The headline should be appealing to the audience. You can also make use of variables if you have mentioned them in the post title.

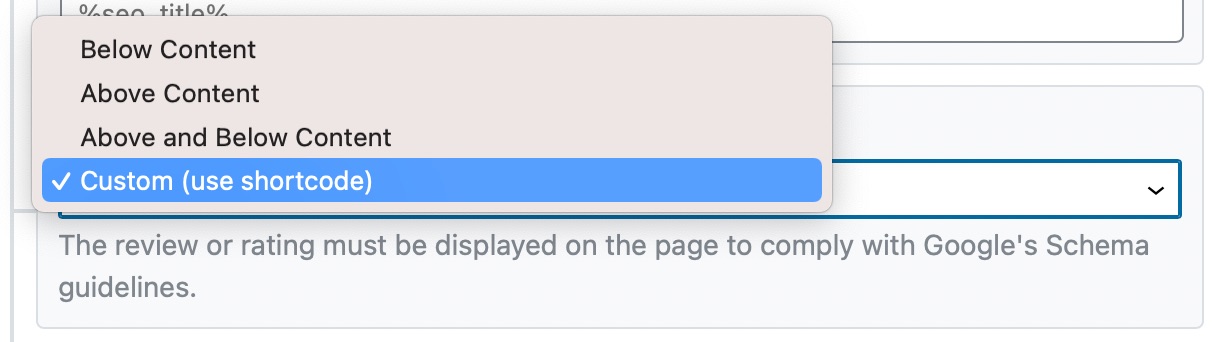
2 Review Location
This option lets you where the information for the Schema should be added. You can add it above the content, below the content, or both above and below the content. You can also use the shortcode and choose a custom location.
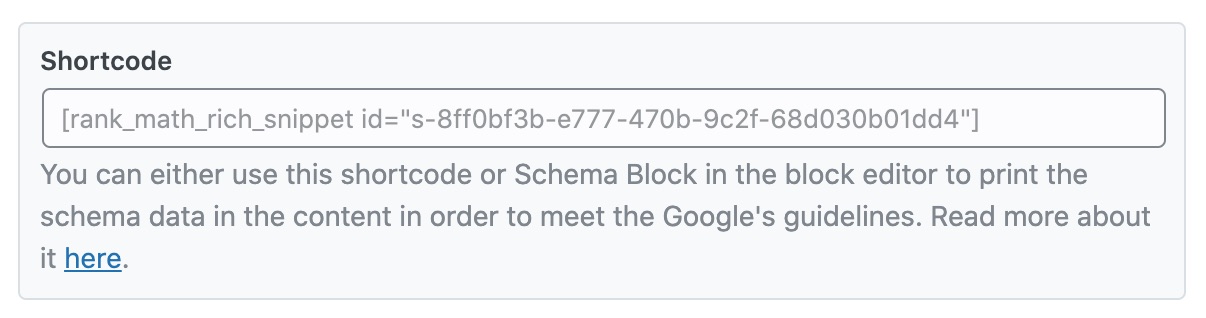
3 Shortcode
If you chose the shortcode option in the above setting, then you should paste the shortcode from this field into your post where you want the review to be displayed.
In the front end, here is how the Recipe Schema data would look like:

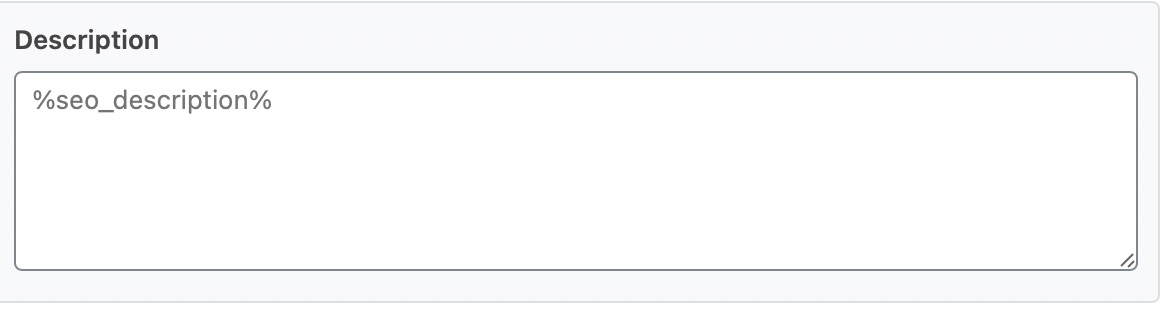
4 Description
Enter the description of the recipe. Make it enticing so that the audience is bound to click it. You can also make use of variables and create a dynamic description.
5 Preparation Time
Enter the time for the dish to be prepared in ISO 8601 format.

6 Cooking Time
Enter the time required for the dish to be cooked completely in ISO 8601 format.

7 Total Time
Enter the total time required to prepare the dish in ISO 8601 format. Total time is the Preparation Time + Cooking Time.

8 Dish Type
Enter the type of dish. For example, it could be a dessert or a main course or a salad.

9 Cuisine
Enter the cuisine that you are cooking.

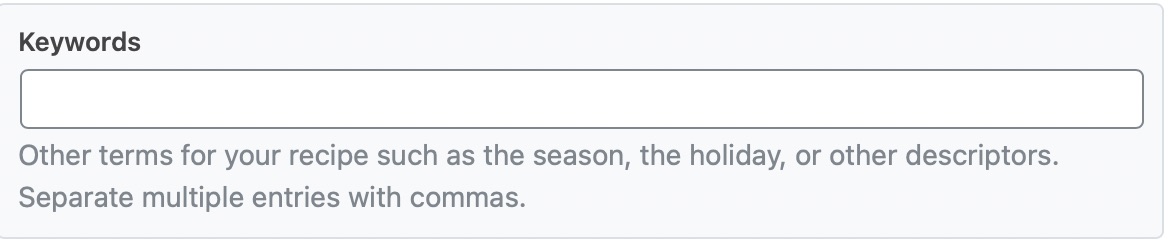
10 Keywords
Enter the keywords that describe your dish closely.
11 Recipe Yield
Enter the quantity that the dish produces.

12 Calories
Enter the number of calories in the recipe. This is an optional field.

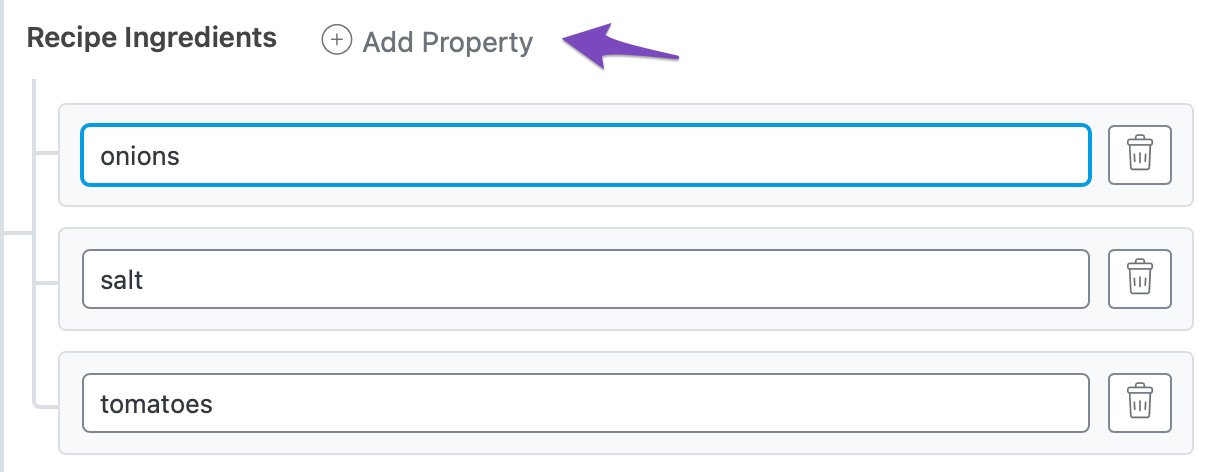
13 Recipe Ingredients
Enter the ingredients of the recipe by clicking on Add Property Group. You can add as many entries as you like, but only one per entry, as shown below:
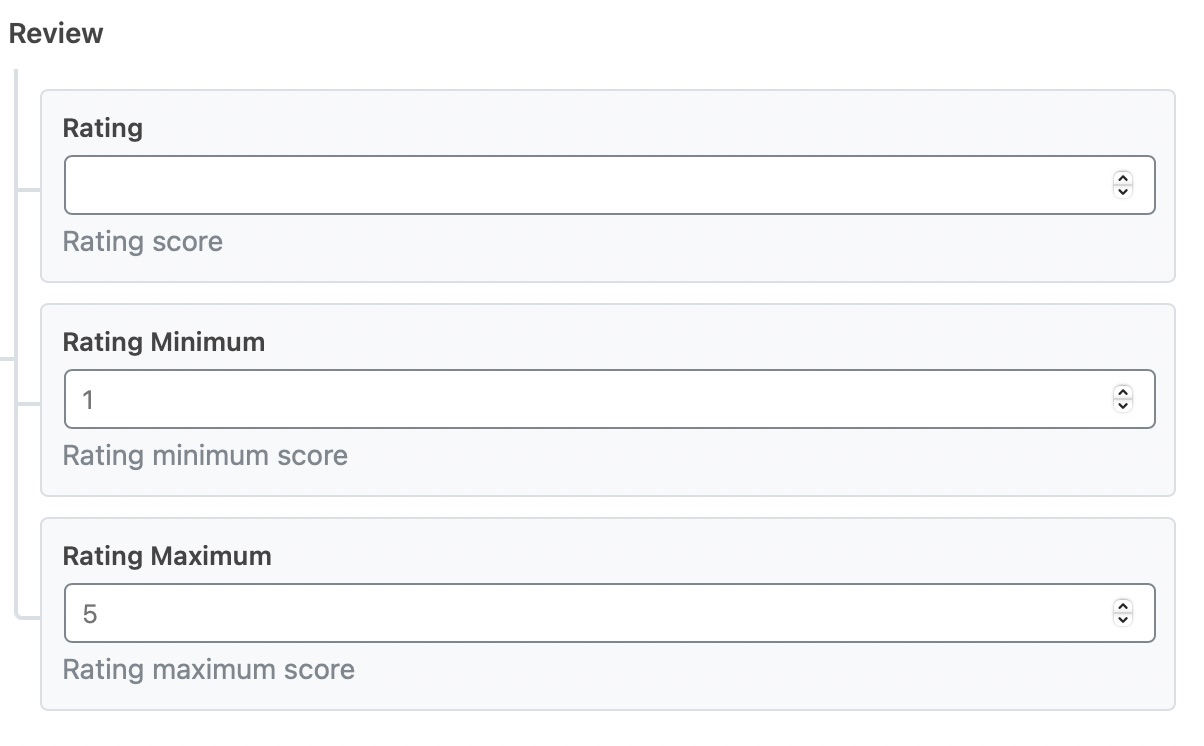
14 Review
Enter the rating score for the product. You can also enter the maximum and minimum rating for your recipe.
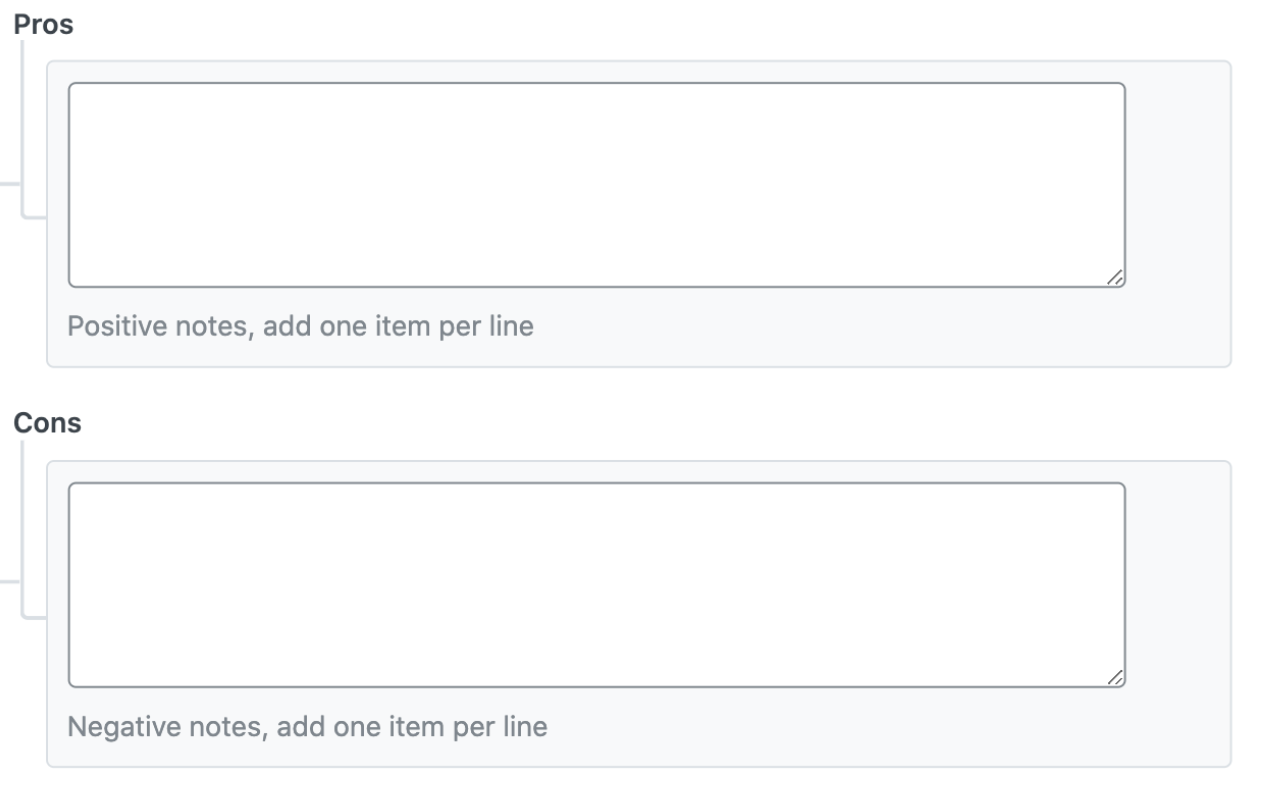
15 Pros and Cons PRO
Enter the positives and negatives of your recipe here. These options are available only in the PRO version of Rank Math. When you add, ensure that you add only one item per line.
16 Video
This section contains the fields as shown below.
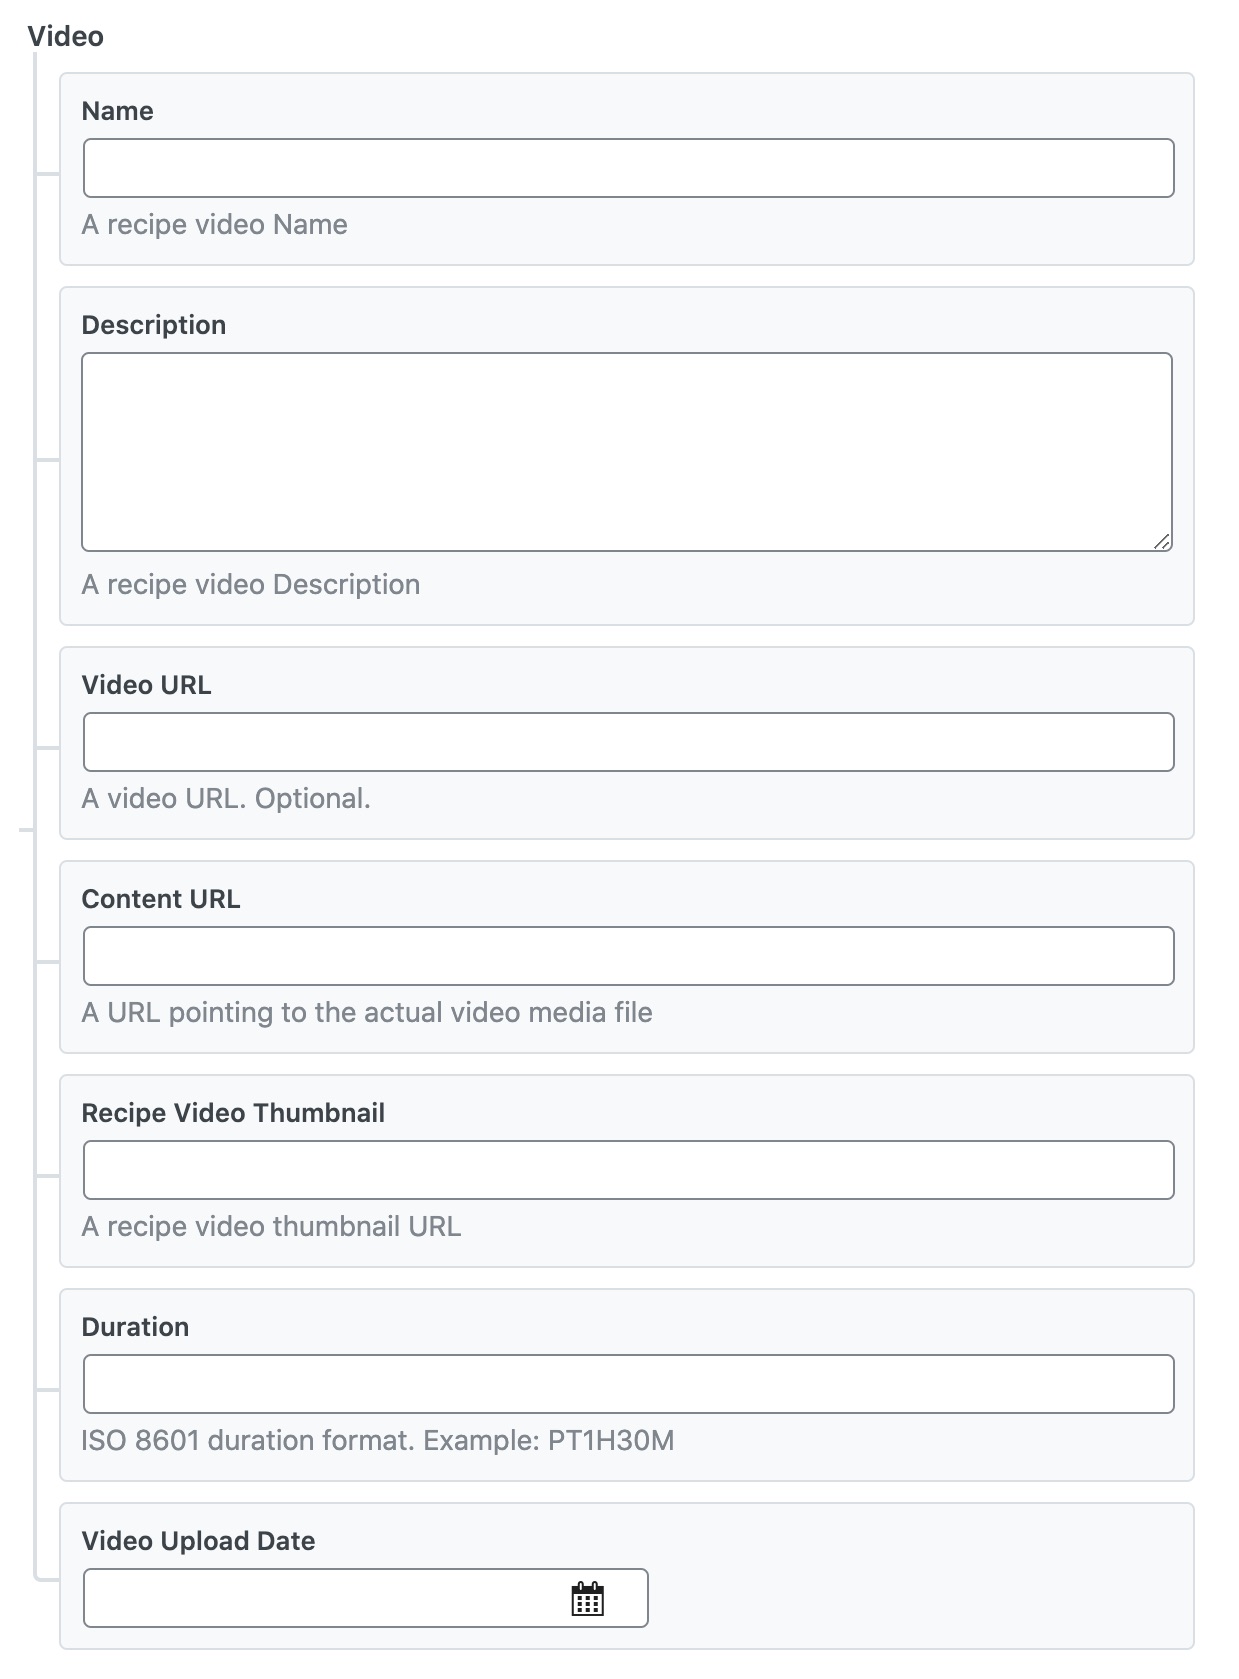
The fields are as follows:
- Name: Enter the name of the video that shows the recipe.
- Description: Enter the recipe video description.
- Video URL: Enter the URL of the recipe’s video.
- Content URL: Enter the URL to the actual video file.
- Recipe Video Thumbnail: Enter the URL of the video’s thumbnail.
- Duration: Enter the duration of the video in ISO 8601 format.
- Video Upload Date: Enter the date when the video was uploaded with the help of a date picker.
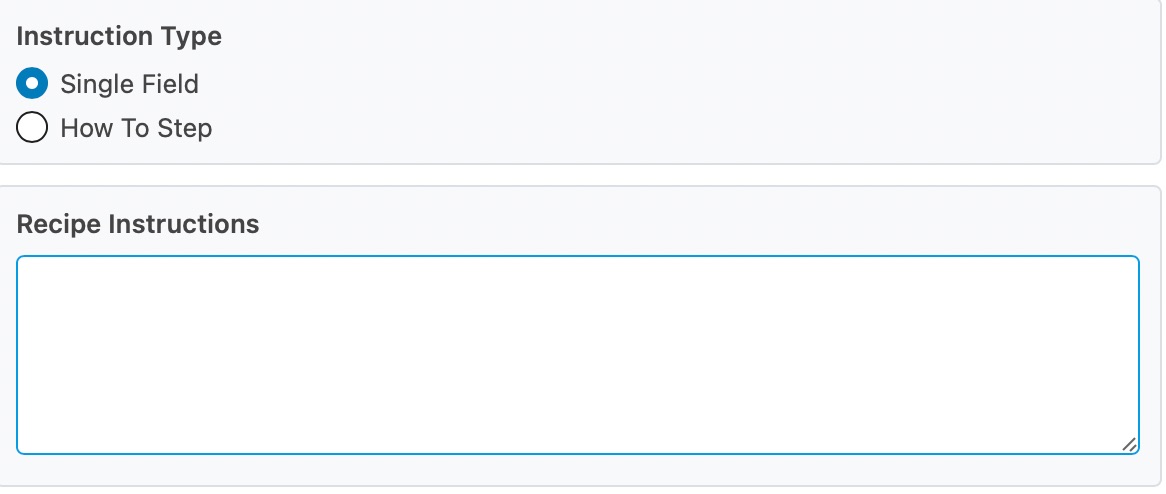
17 Instruction Type & Recipe Instructions
There are two ways in which you can describe the recipe. You can either write a paragraph describing the steps, or you can break down the individual steps.
If you choose the Single Field option, type in or copy the steps from your recipe in the text field in the Recipe Instructions.
If you choose the How To Step option, you’ll see something similar to the image below. Click the Add Property Group option to reveal more options.
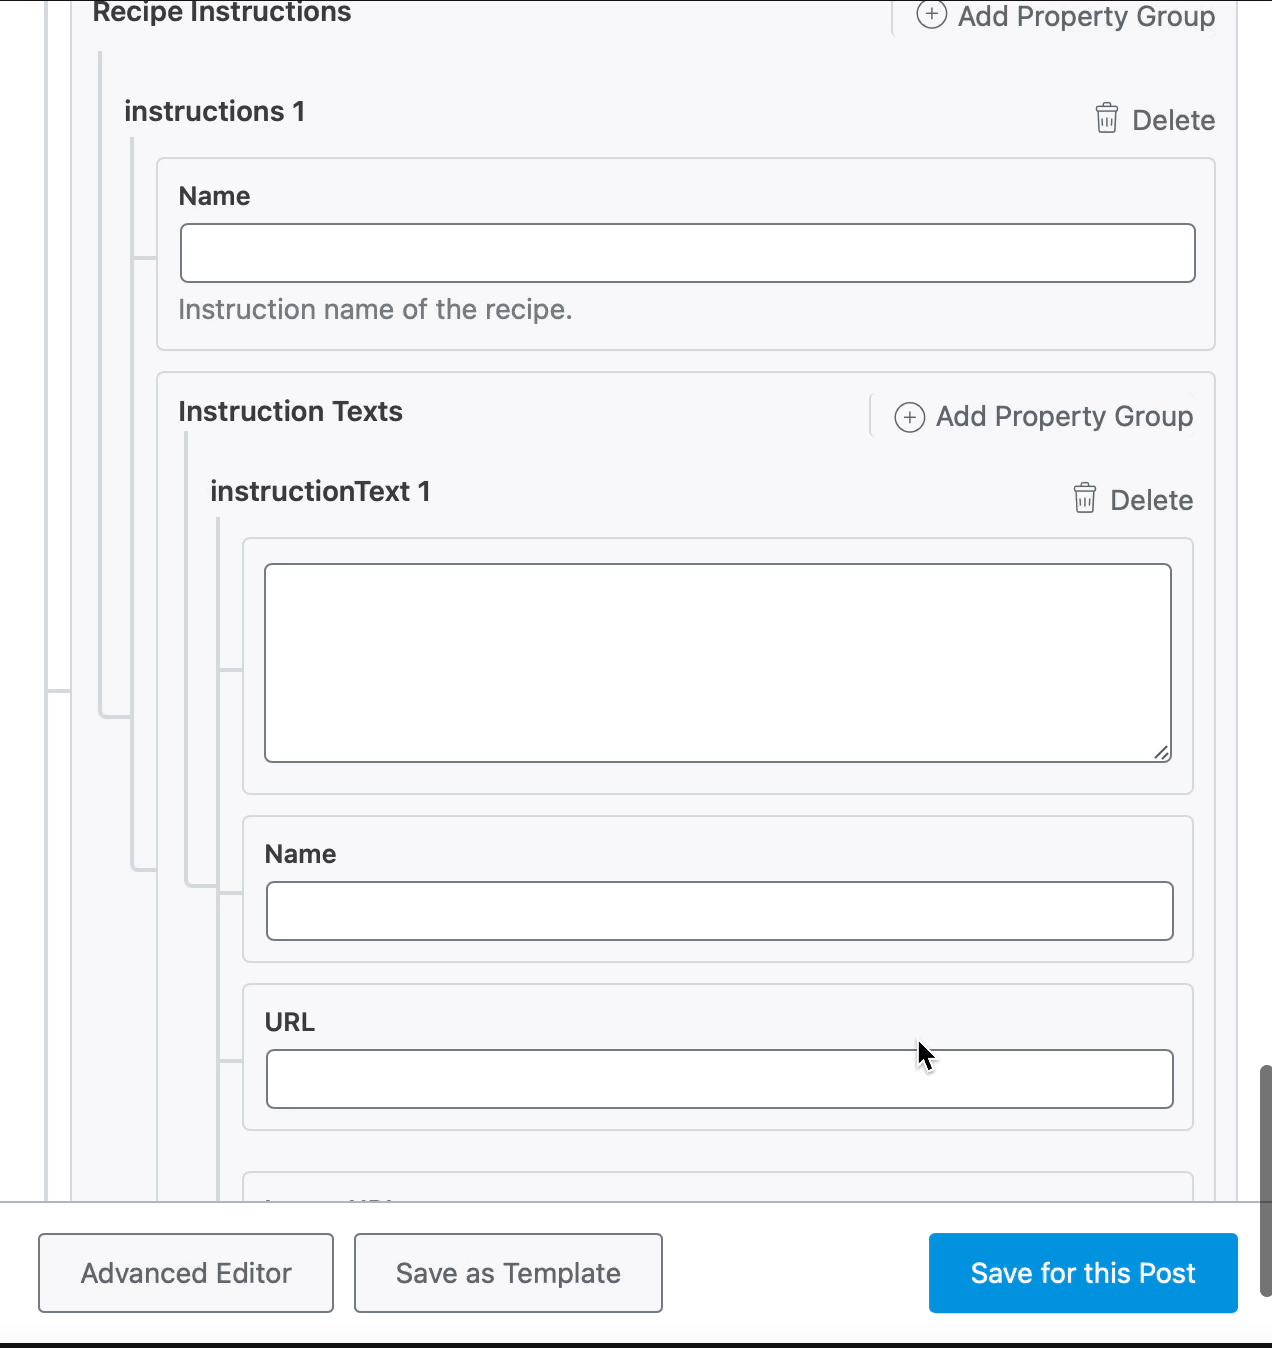
So you can include steps inside steps and make your description more clear to understand. Please note that the Name, URL, and Image URL fields are only available in Rank Math PRO.
And, that’s it! Click on Save for this Post once you’re done making any changes to the Recipe Schema for this page. Then, simply update the page as you normally would after making a change or click Publish if this is a newly created page. You can then check your Schema with the help of Google’s Rich Results Testing Tool.