In this knowledgebase article, we’re going to walk you through how to use Rank Math’s Local Business block in the multiple locations post type.
To get started, you’ll need to have created multiple locations using Rank Math. You can refer to our dedicated guide on Local SEO to create new locations and display your business and local information on the frontend of your website.
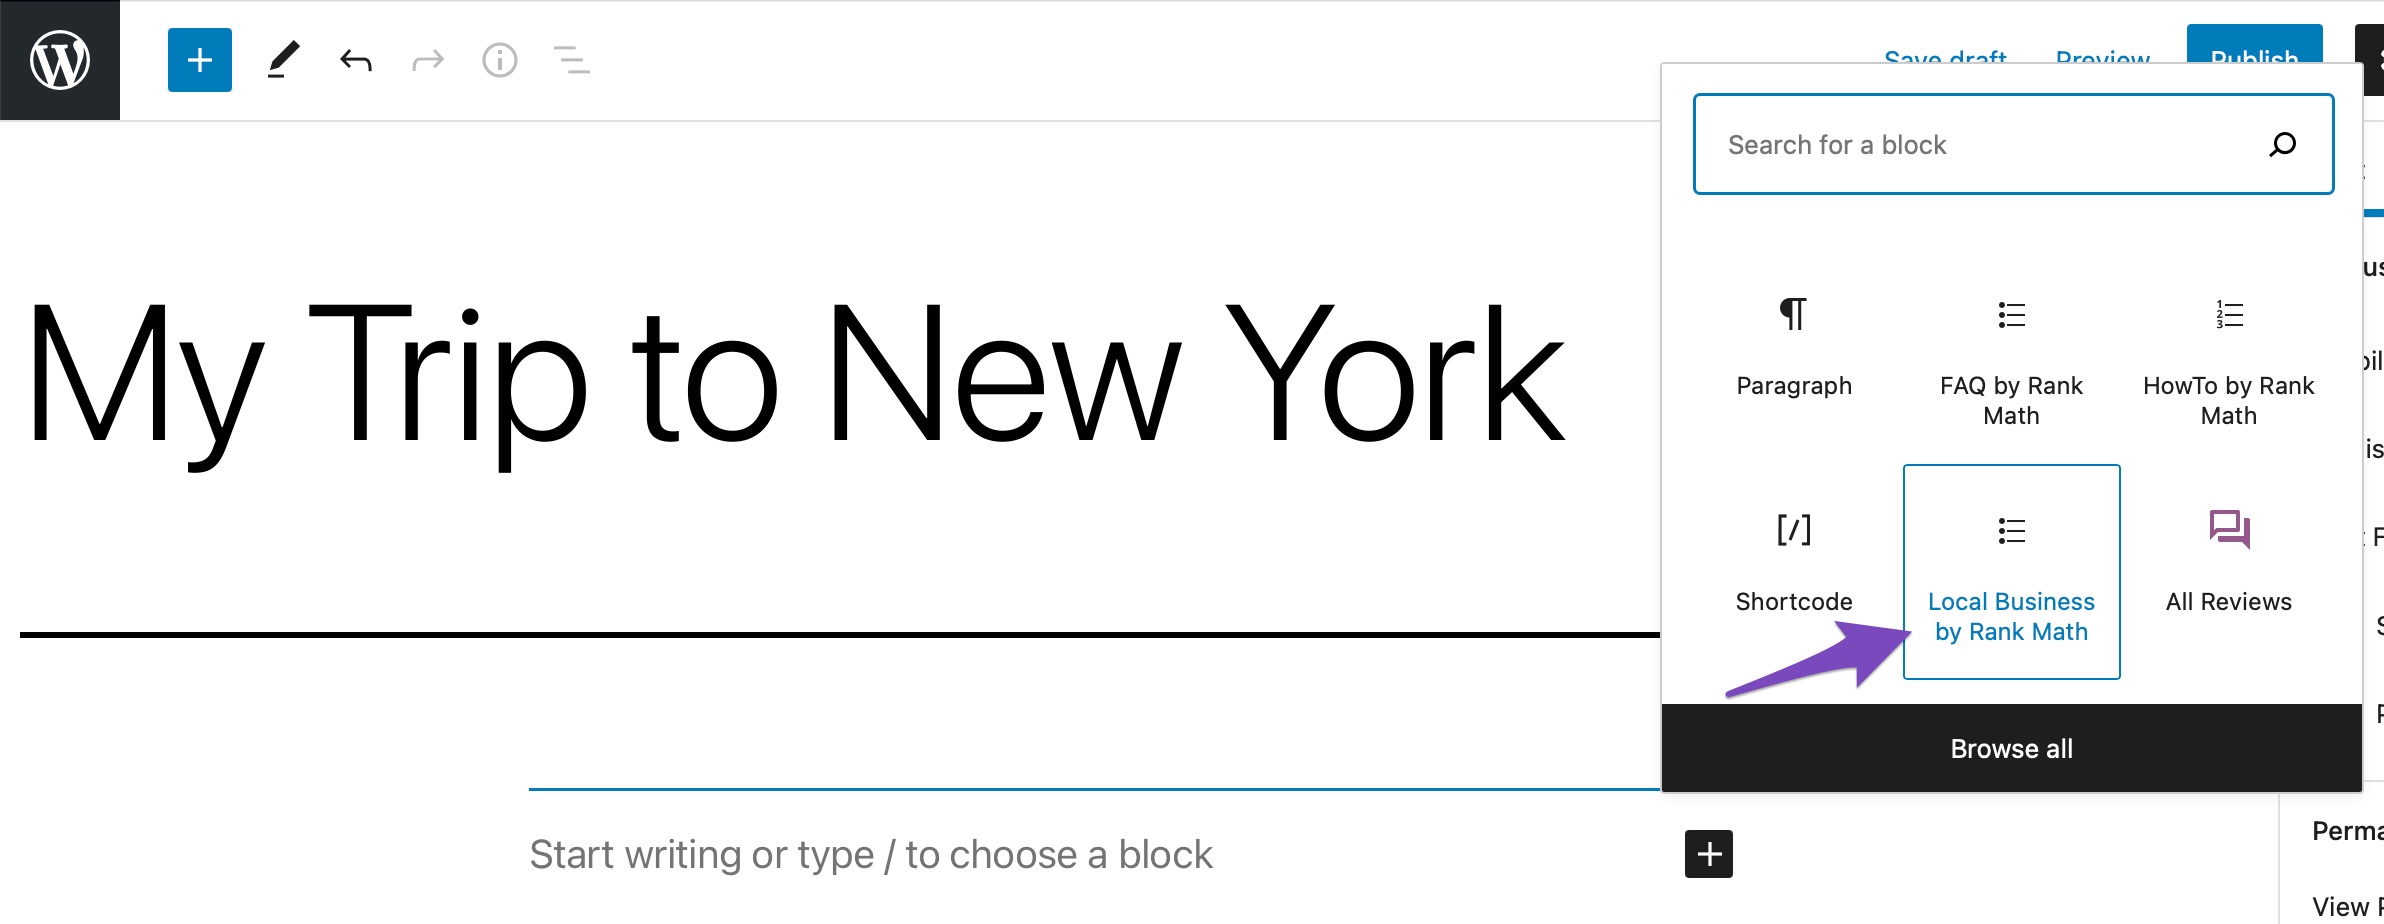
Once you’ve added multiple locations then use Rank Math’s Local Business Block as shown below. If you don’t see the block in the multiple locations post type, then check if you’ve enabled the Schema module under Rank Math SEO > Dashboard > Modules.
Let us now look at each setting that is present in the Local Business Block.
Rank Math LocalBusiness Block Settings
1 Type
In the Block settings > Type, You can set the Address, Opening hours, Map, Store Locator for your location accordingly.
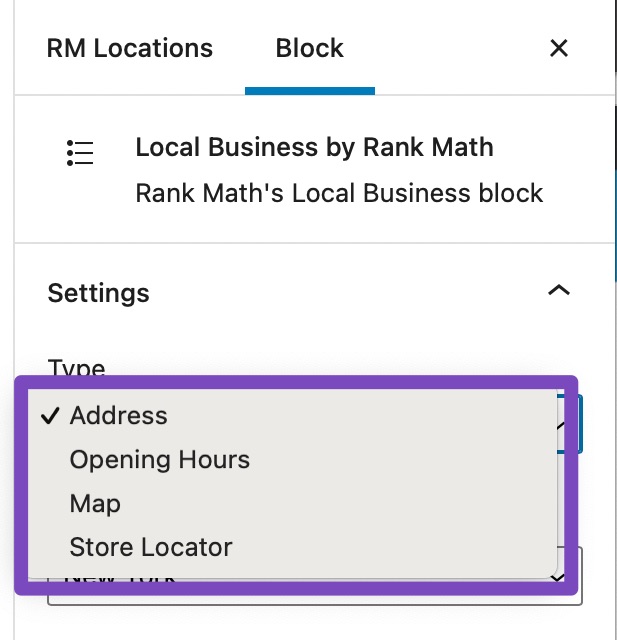
Let’s look at each of them in detail.
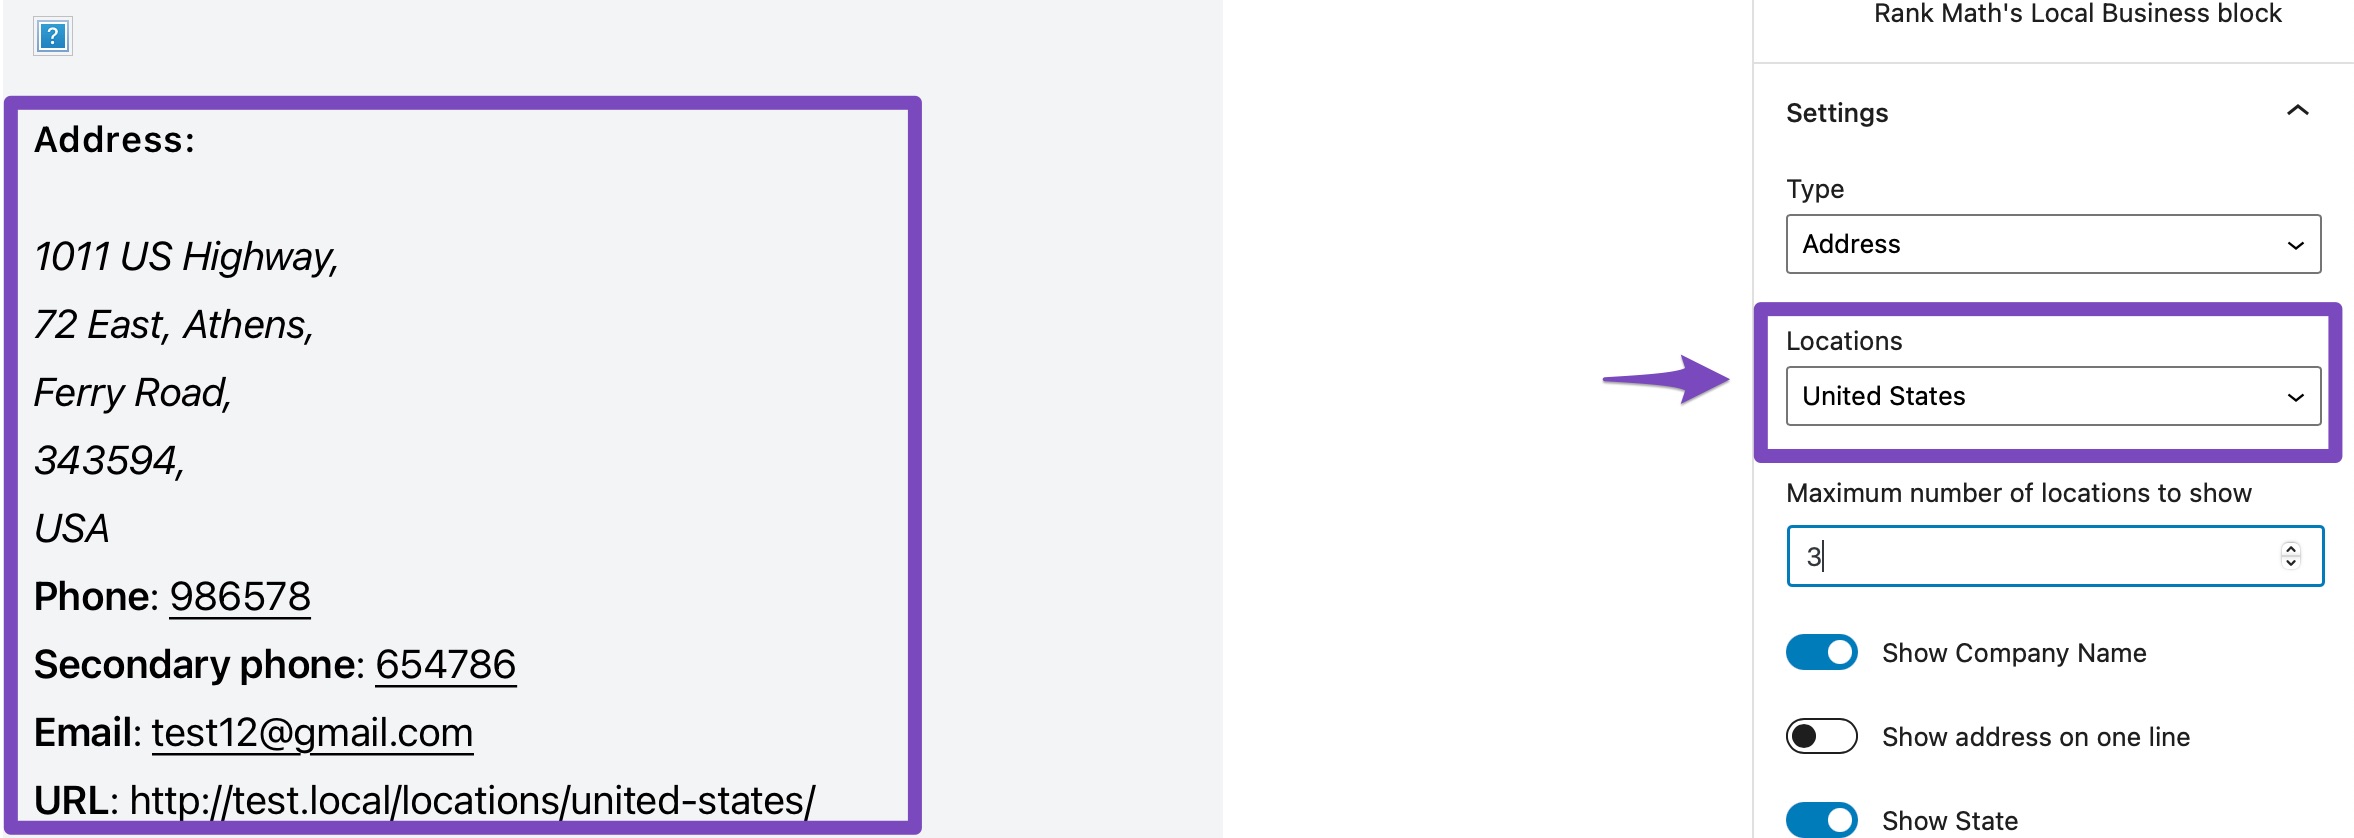
1.1 Address
When you select the type as an address, the address of the location will be displayed.
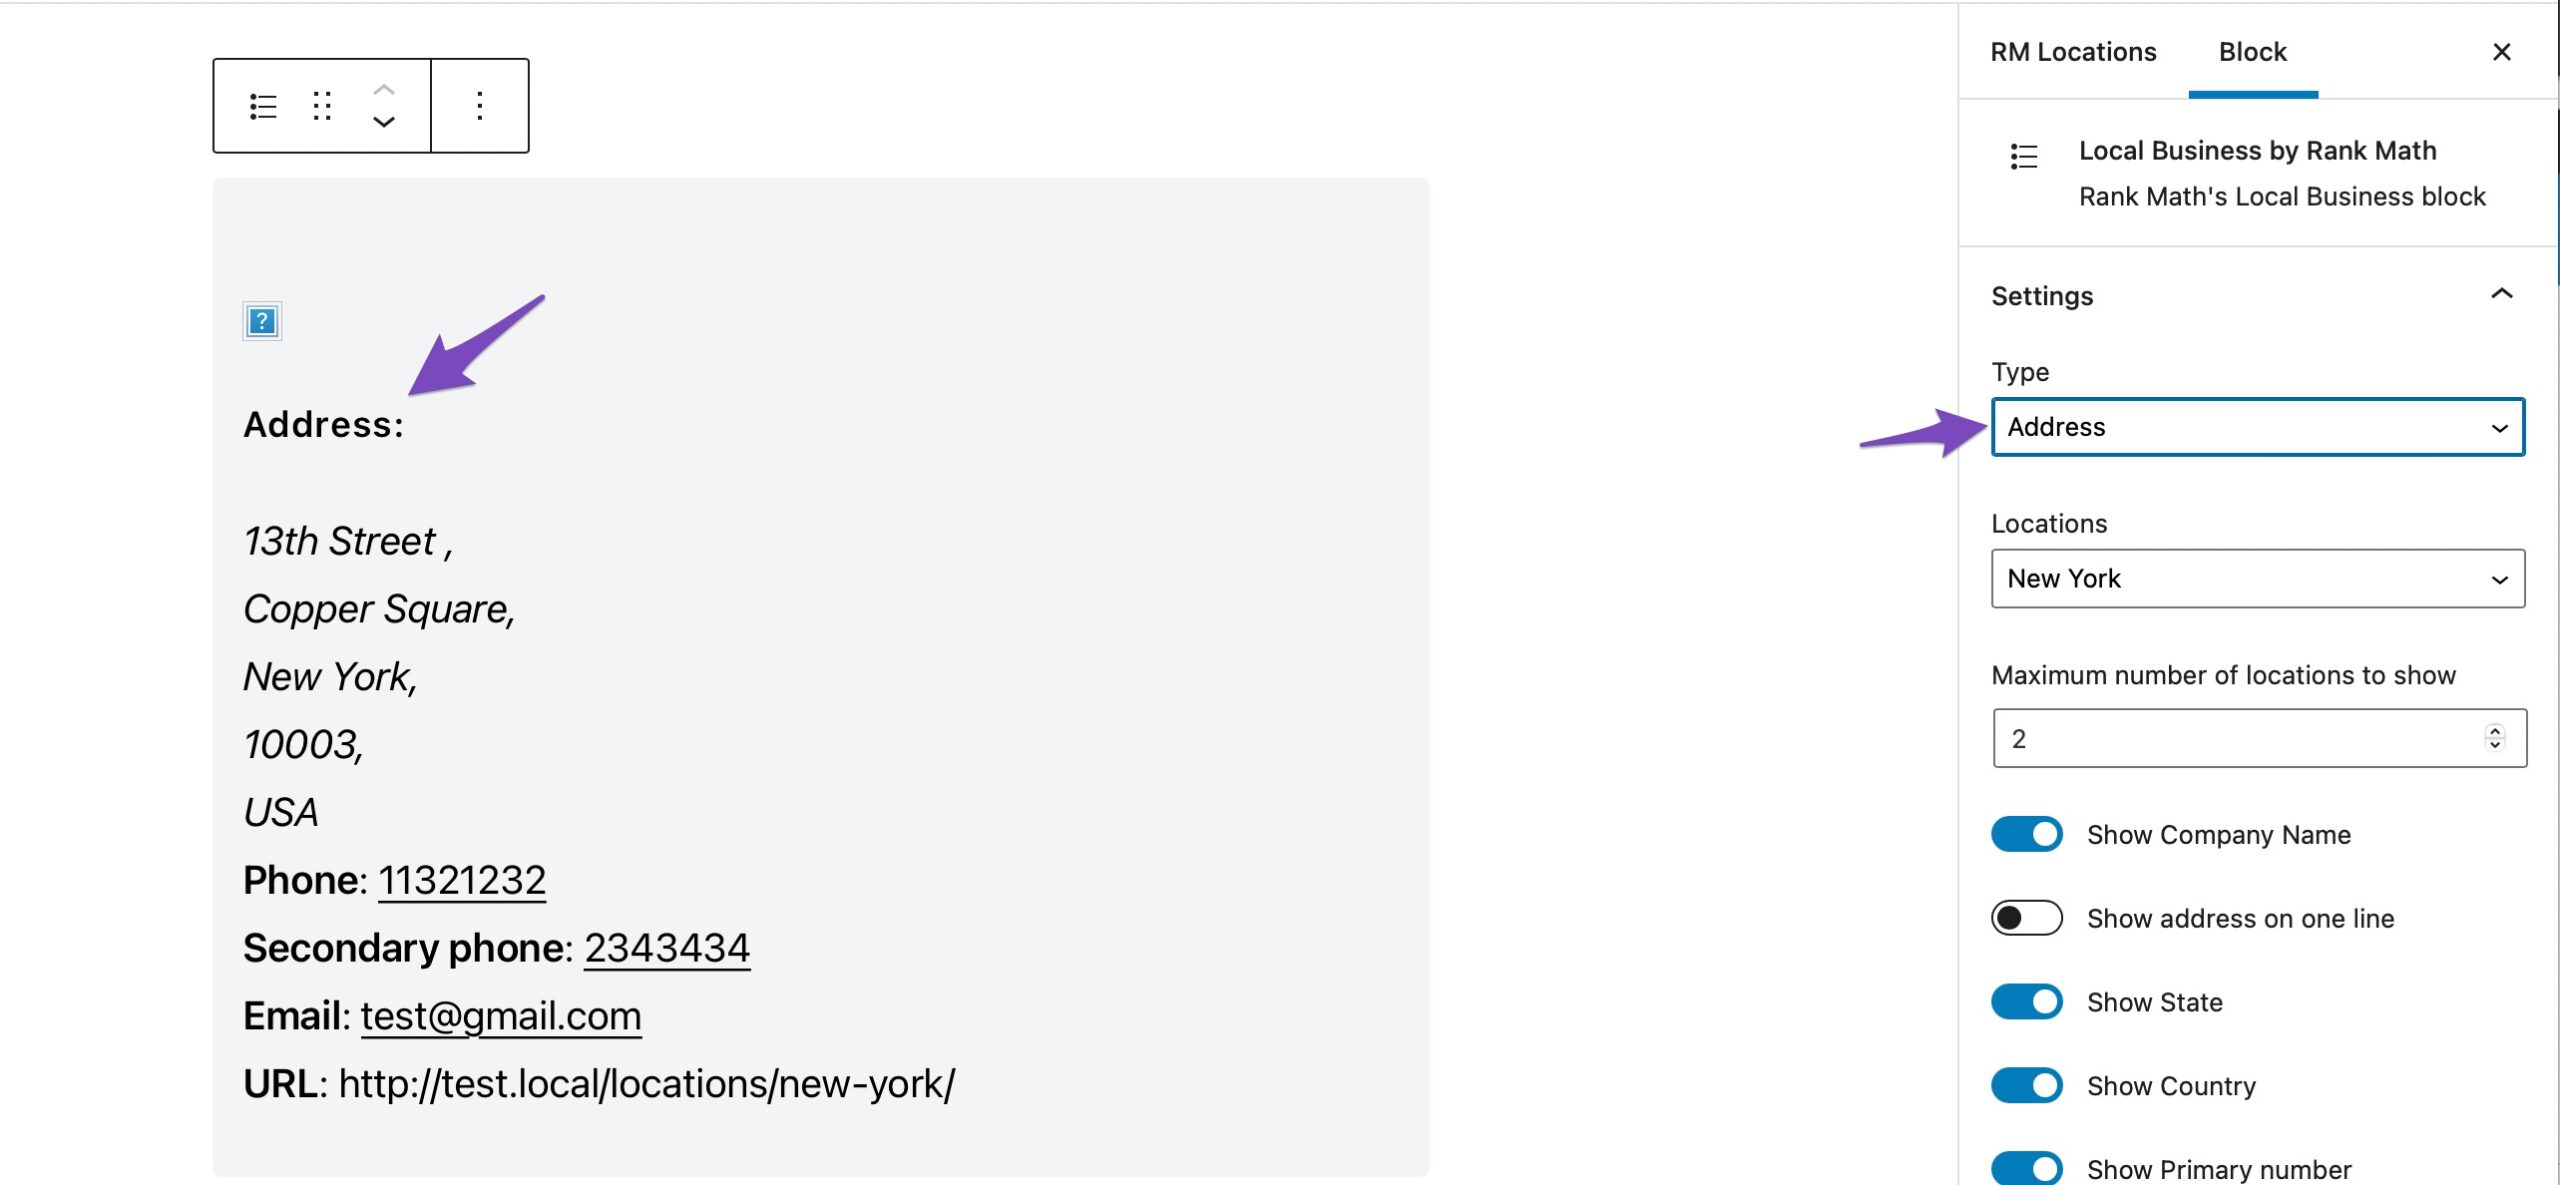
You’ll also notice some other options that’ll help you to display the information according to your choice.
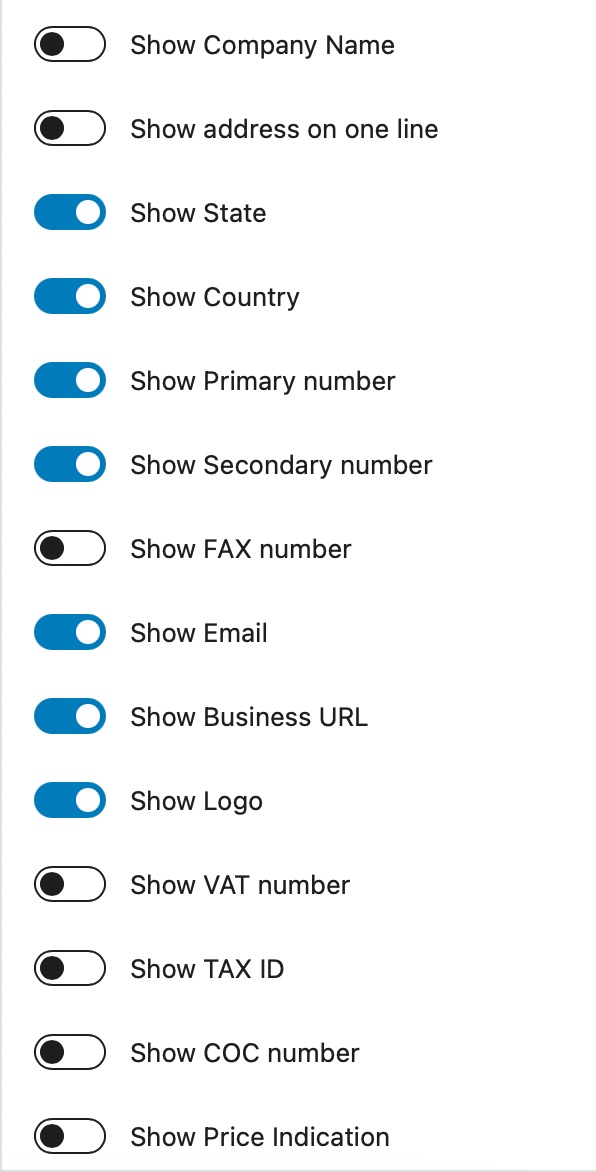
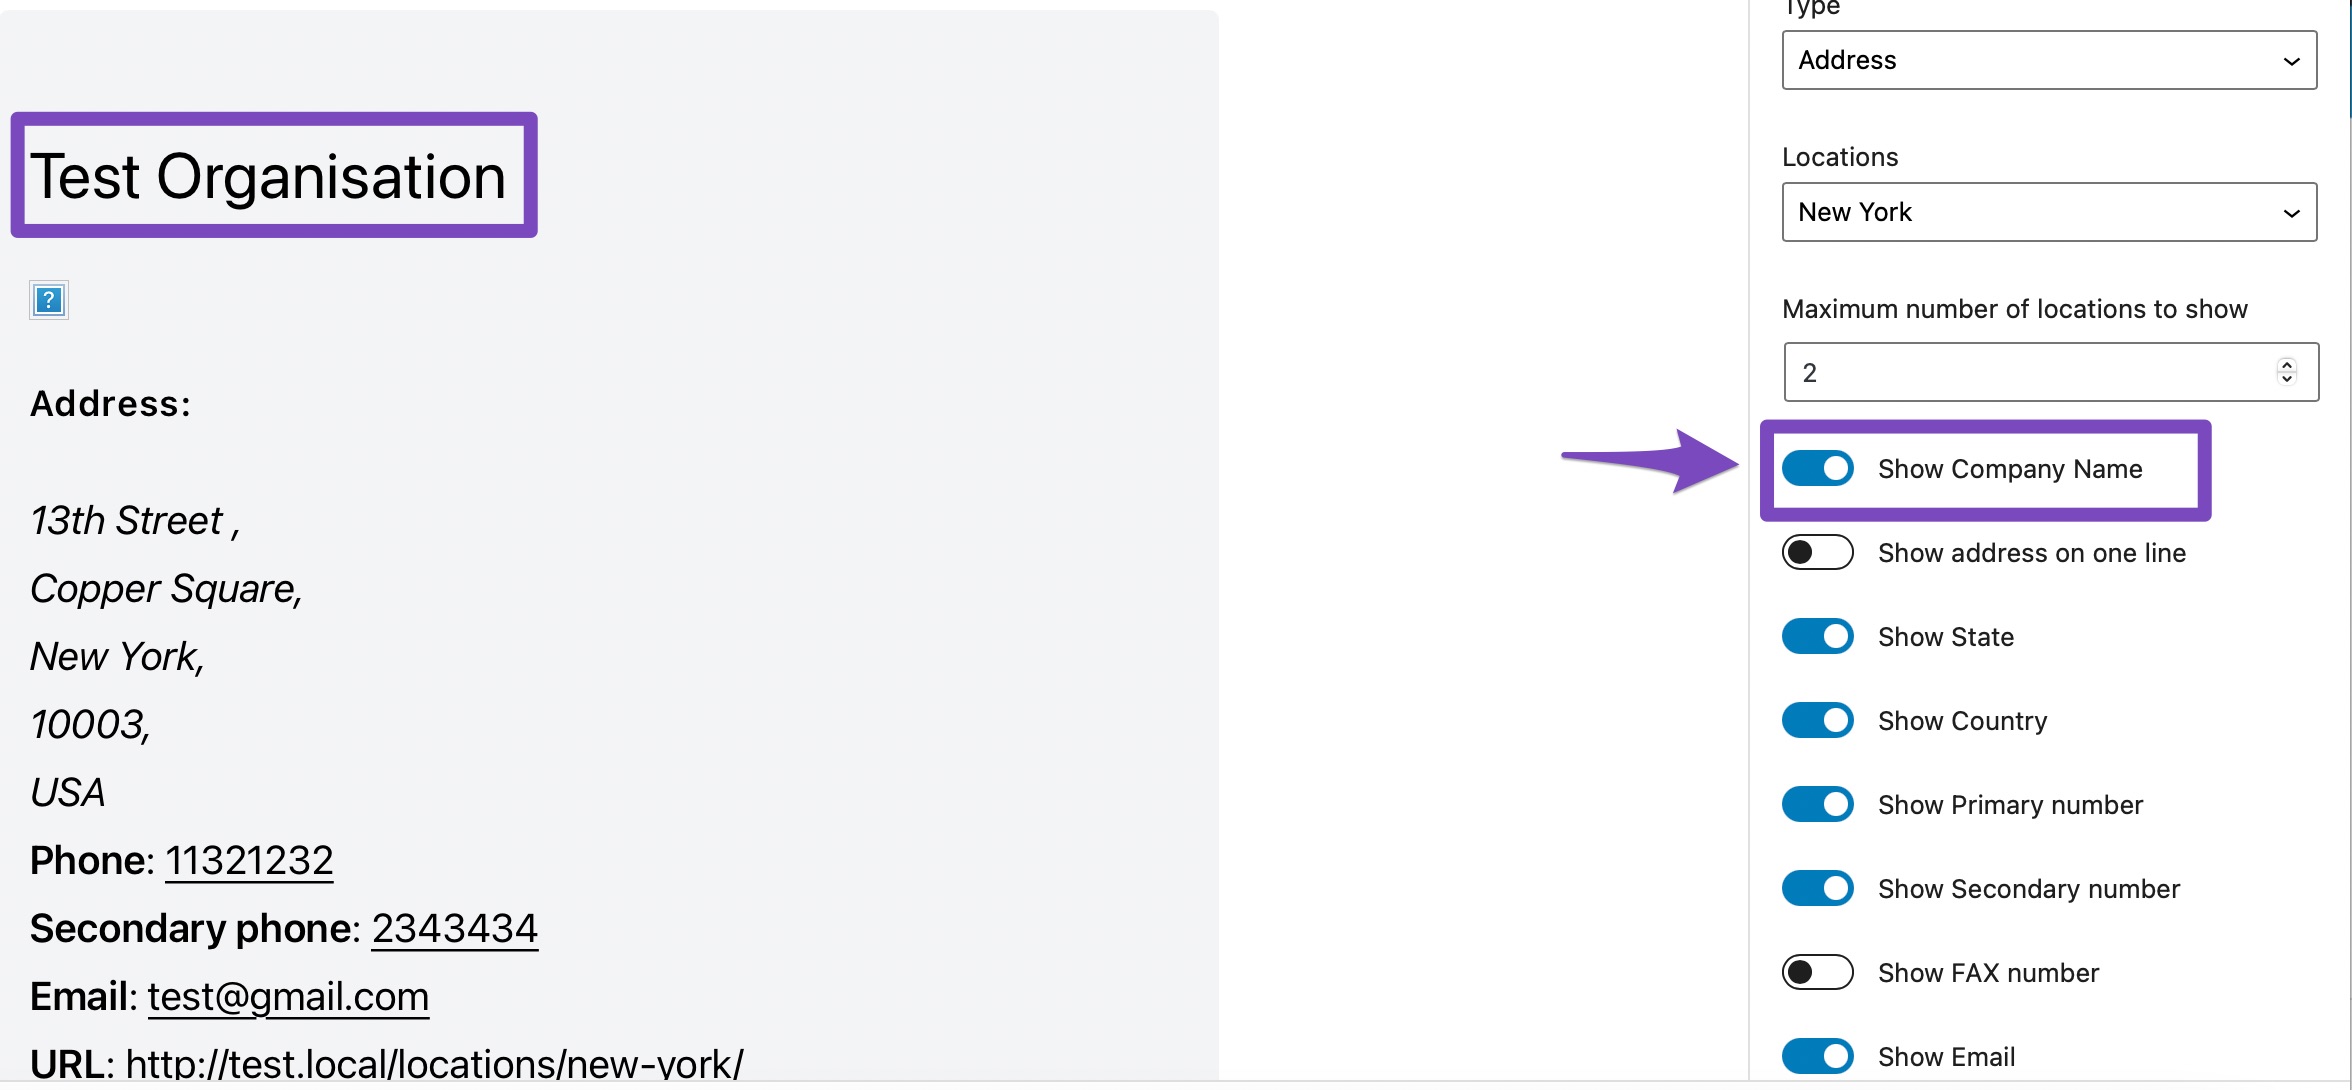
1.1.1 Show Company Name
Show Company Name will display the name of the company if it’s enabled.
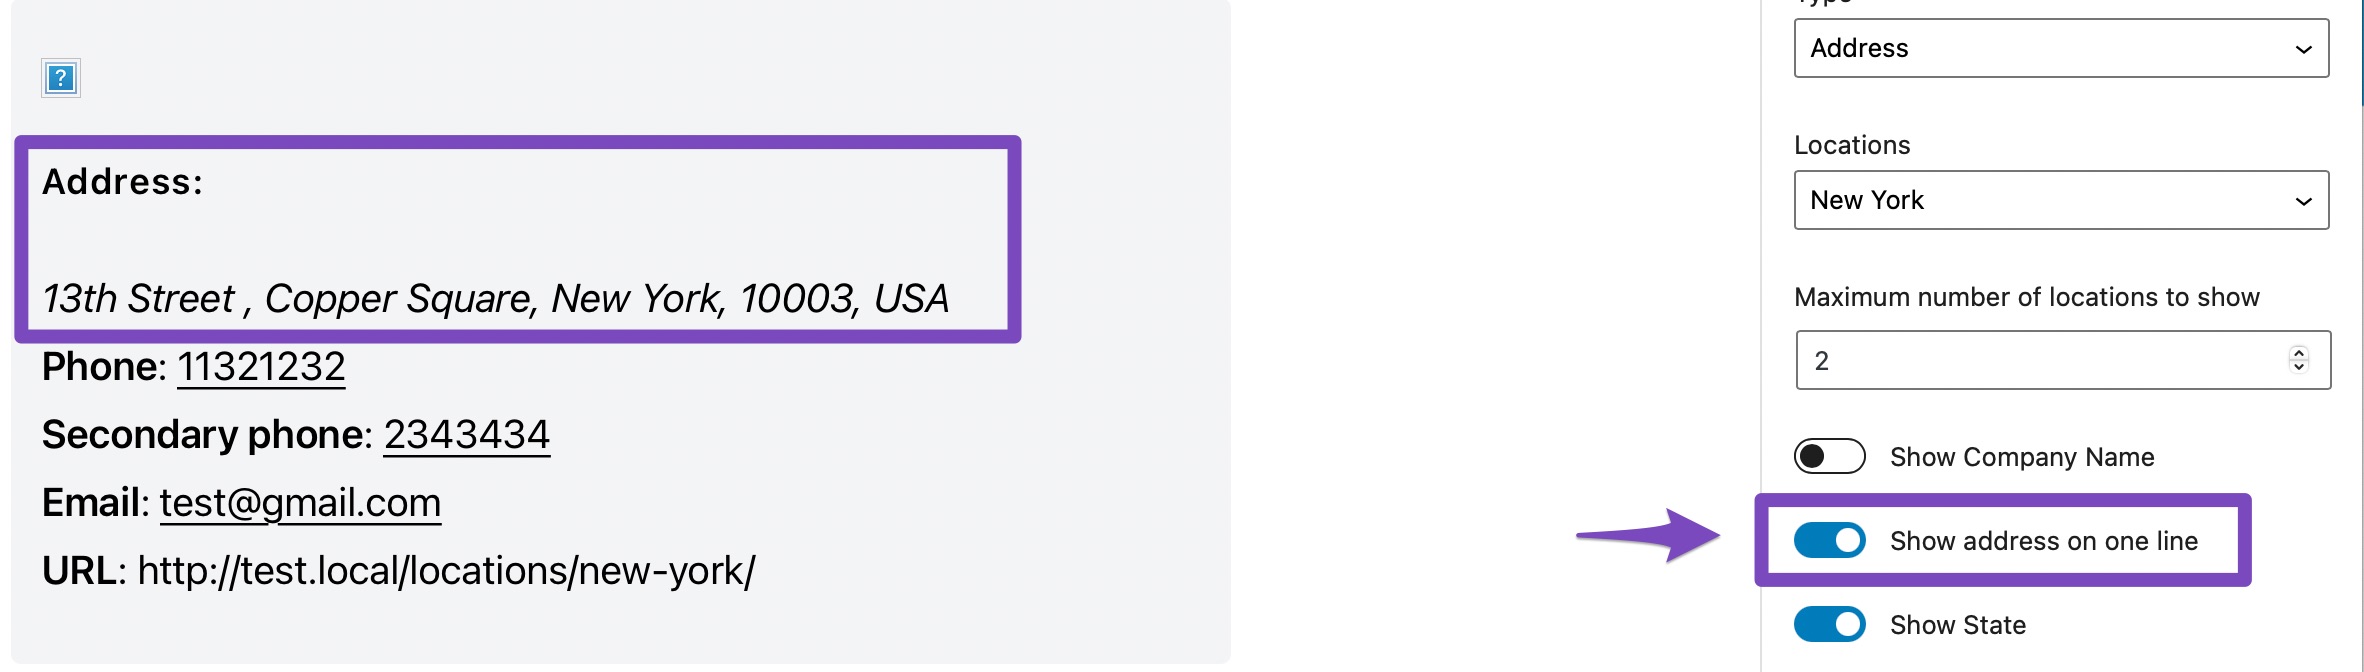
1.1.2 Show Address on One Line
Show address on one line option will display the address in a single line if it’s enabled.
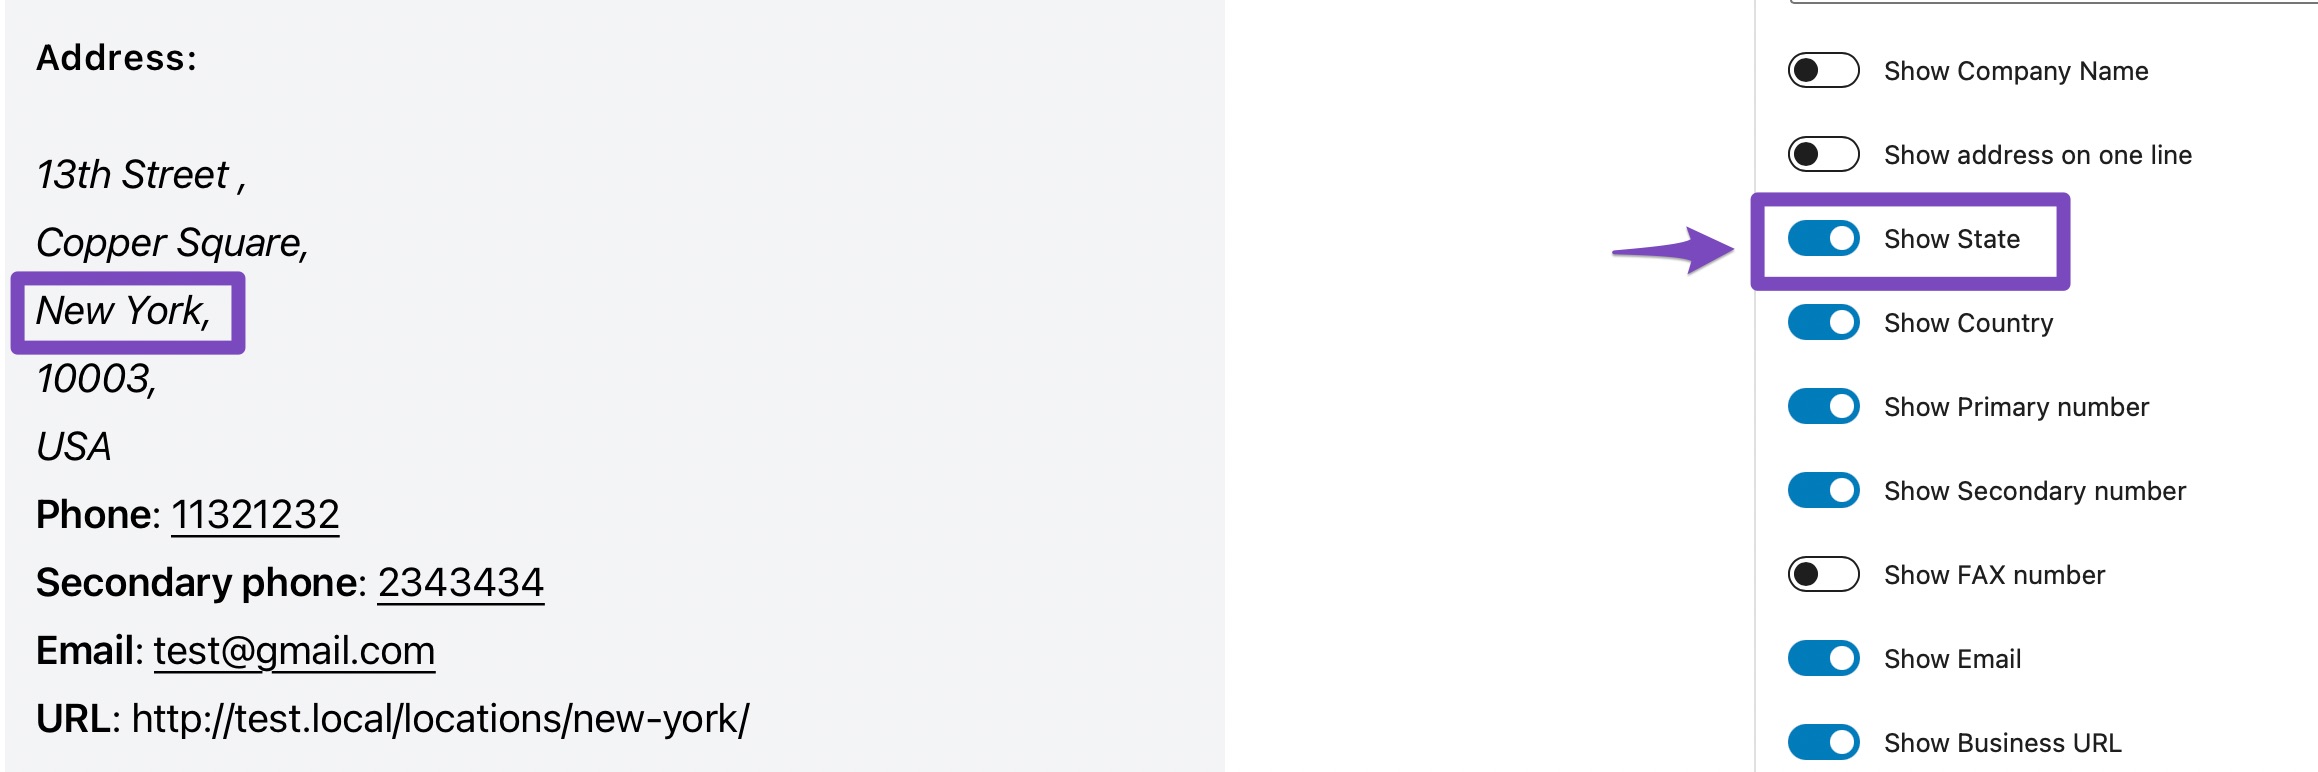
1.1.3 Show State
Show State will display the name of the state if the option is enabled.
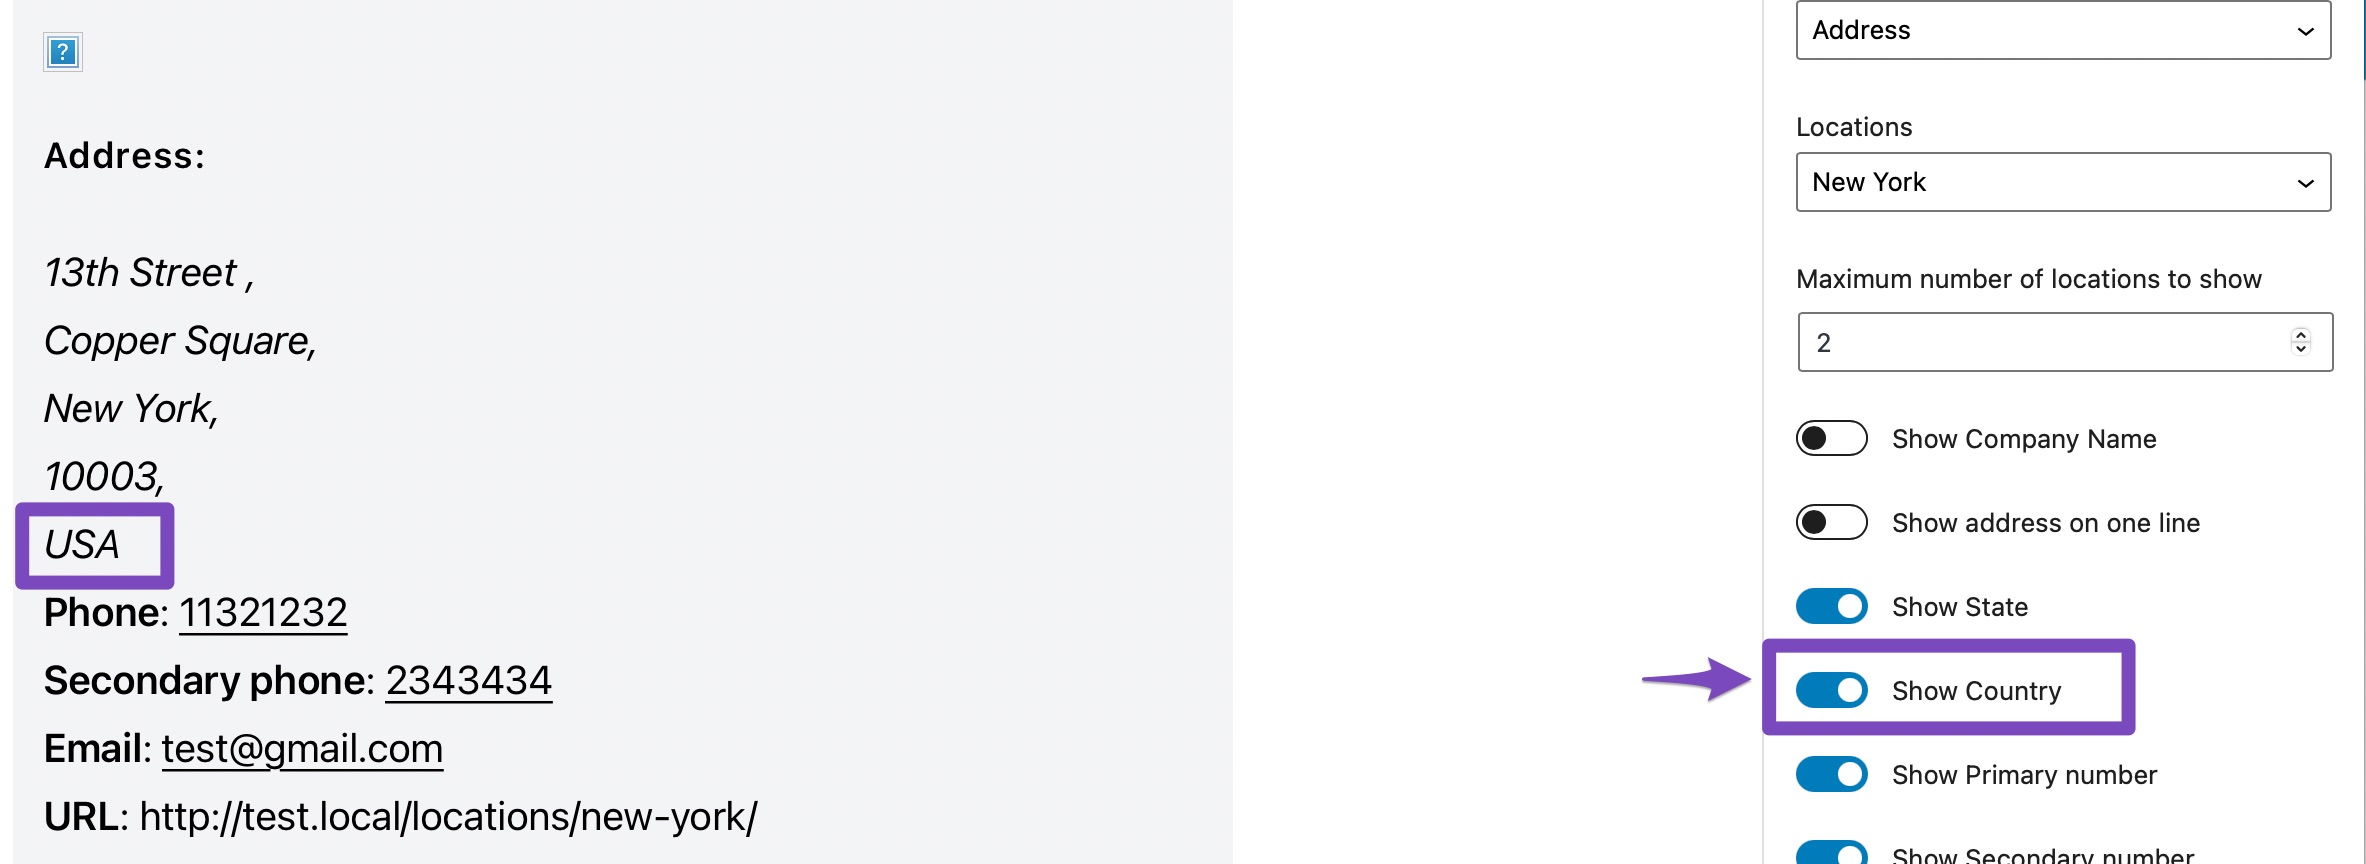
1.1.4 Show Country
Show Country option will display the name of the country if the option is enabled.
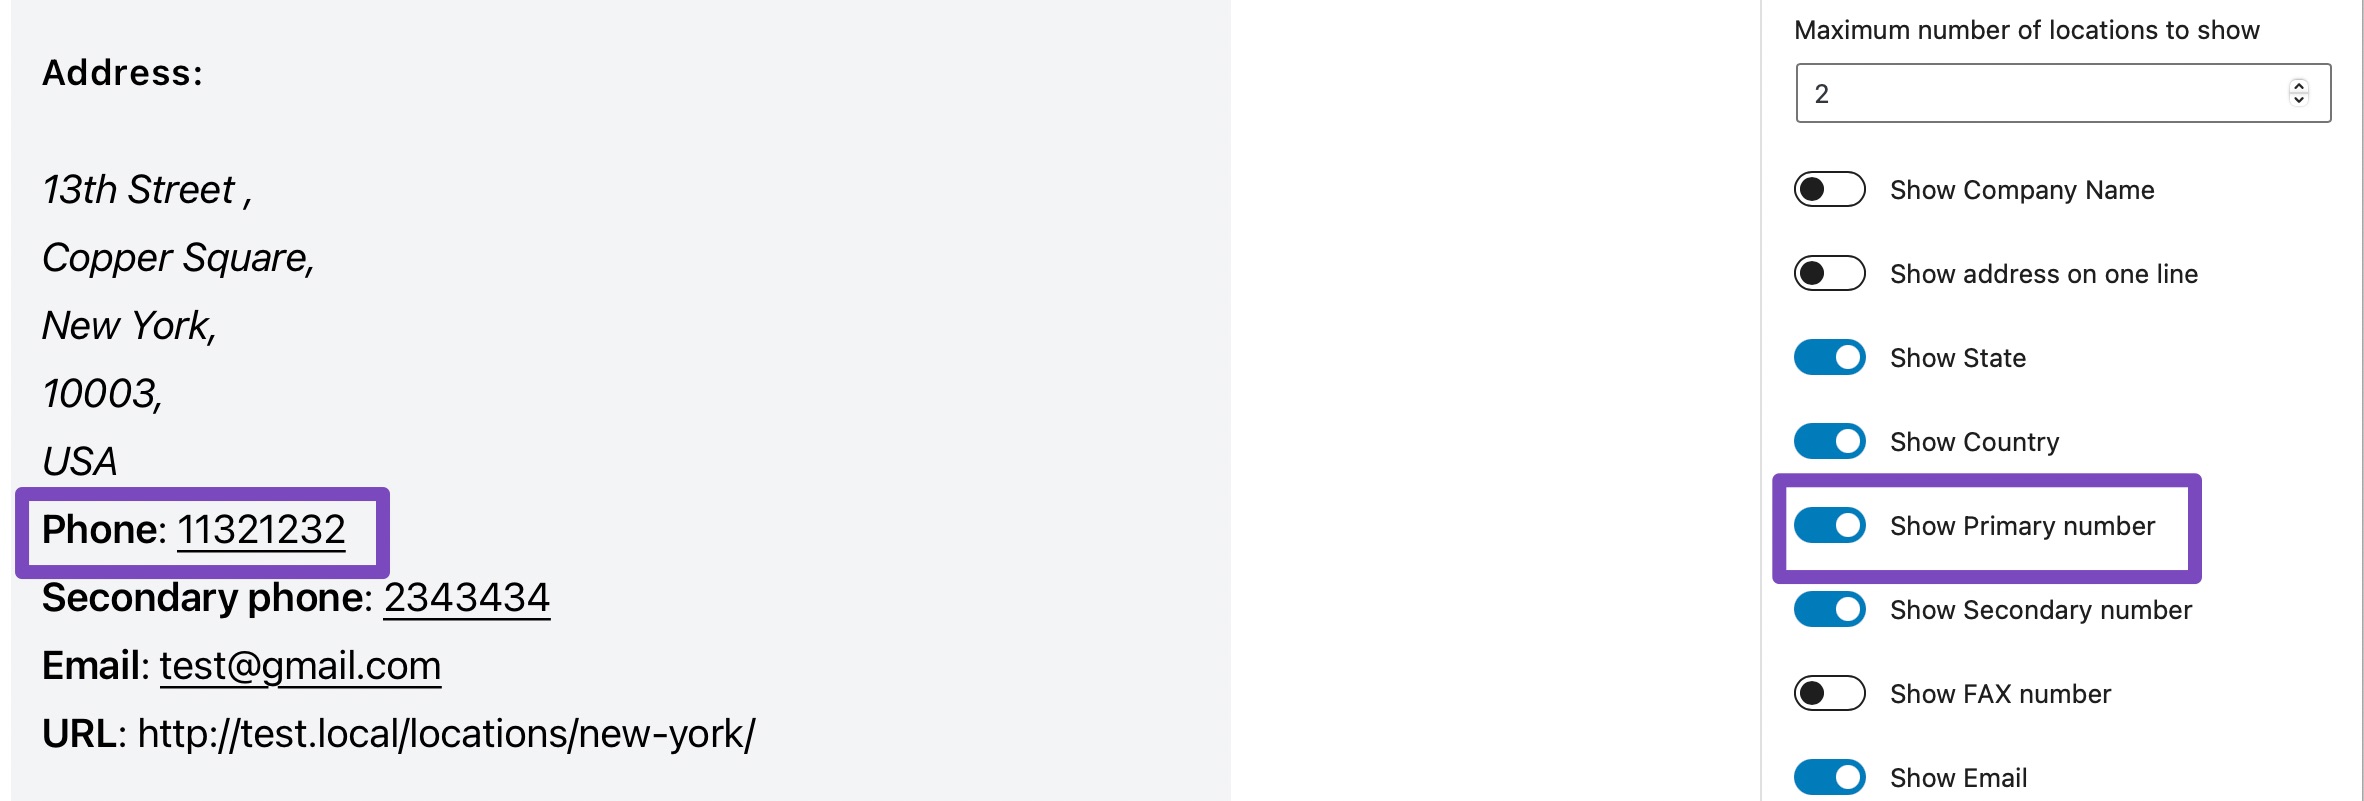
1.1.5 Show Primary Number
Show Primary number option will display the primary number of your business if the option is enabled.
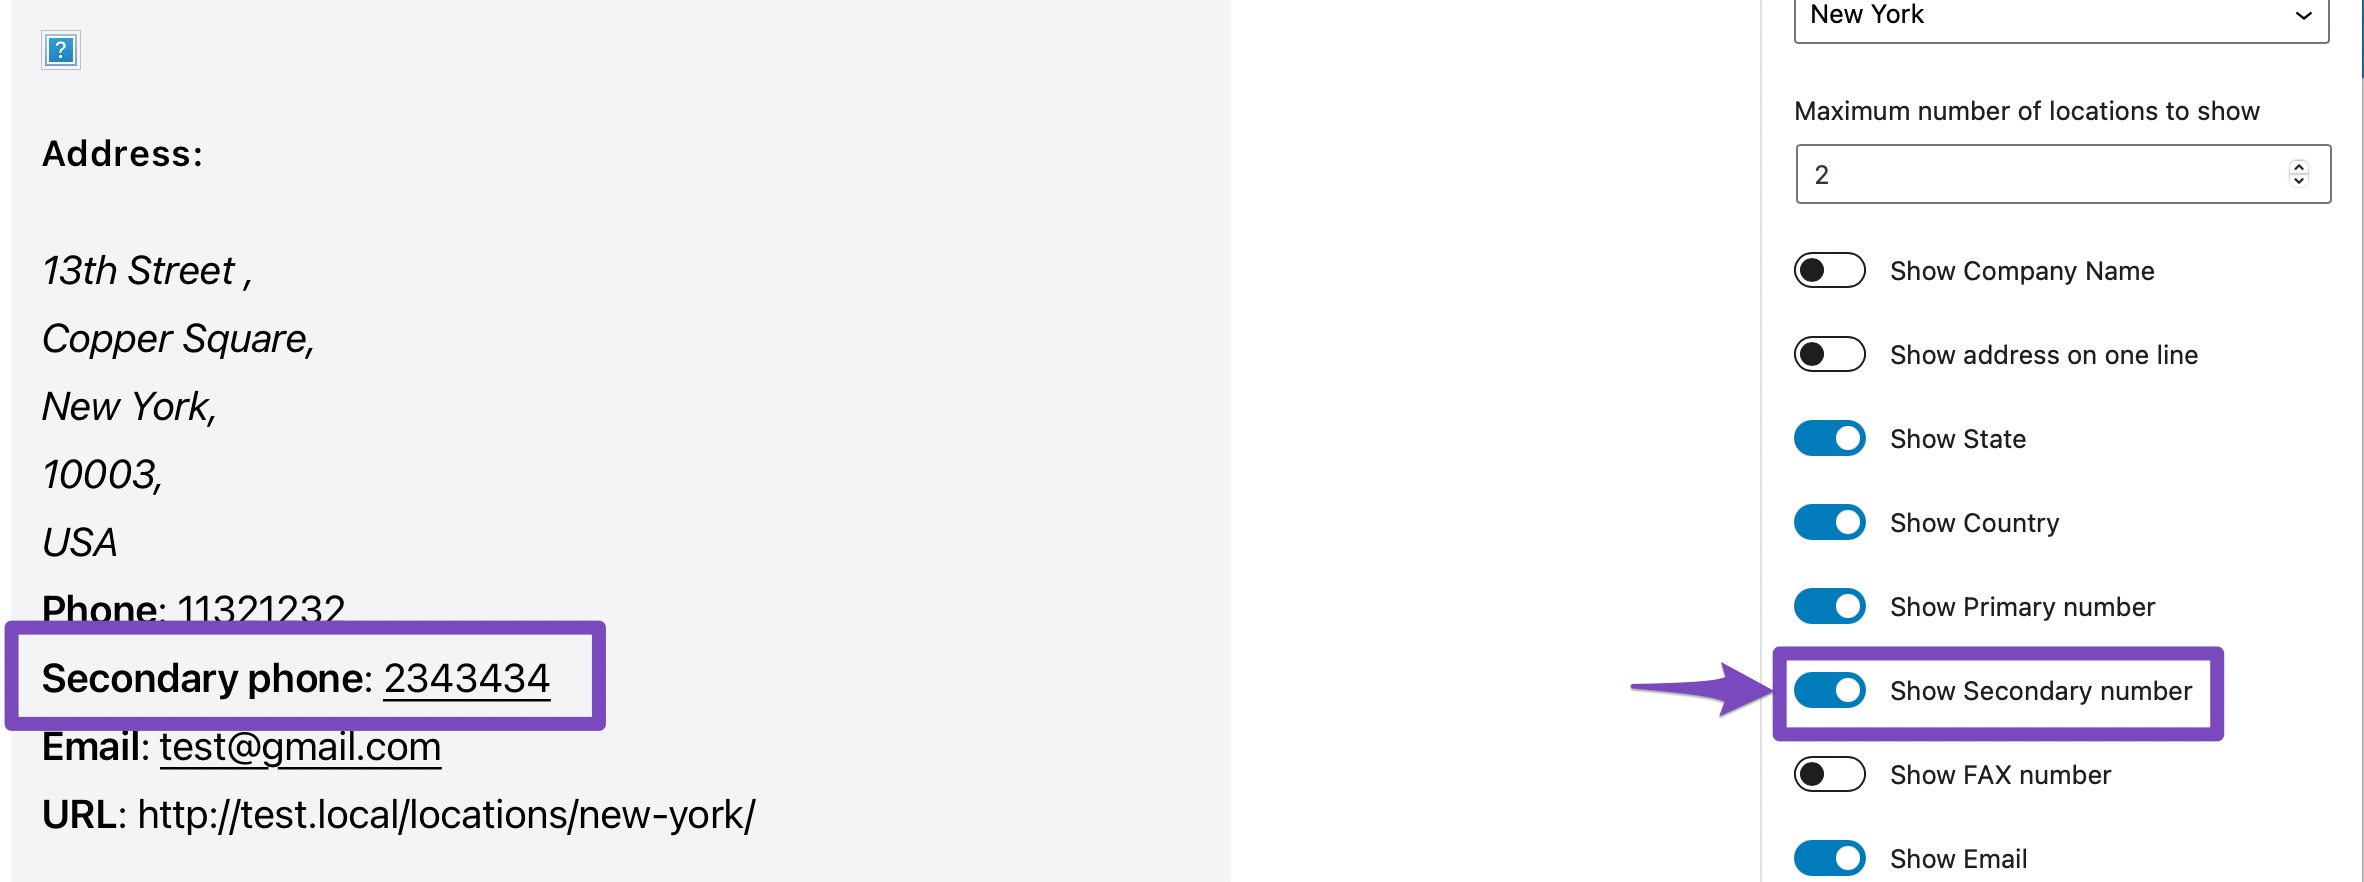
1.1.6 Show Secondary Number
Show Secondary number option will display the secondary number of your business if the option is enabled.
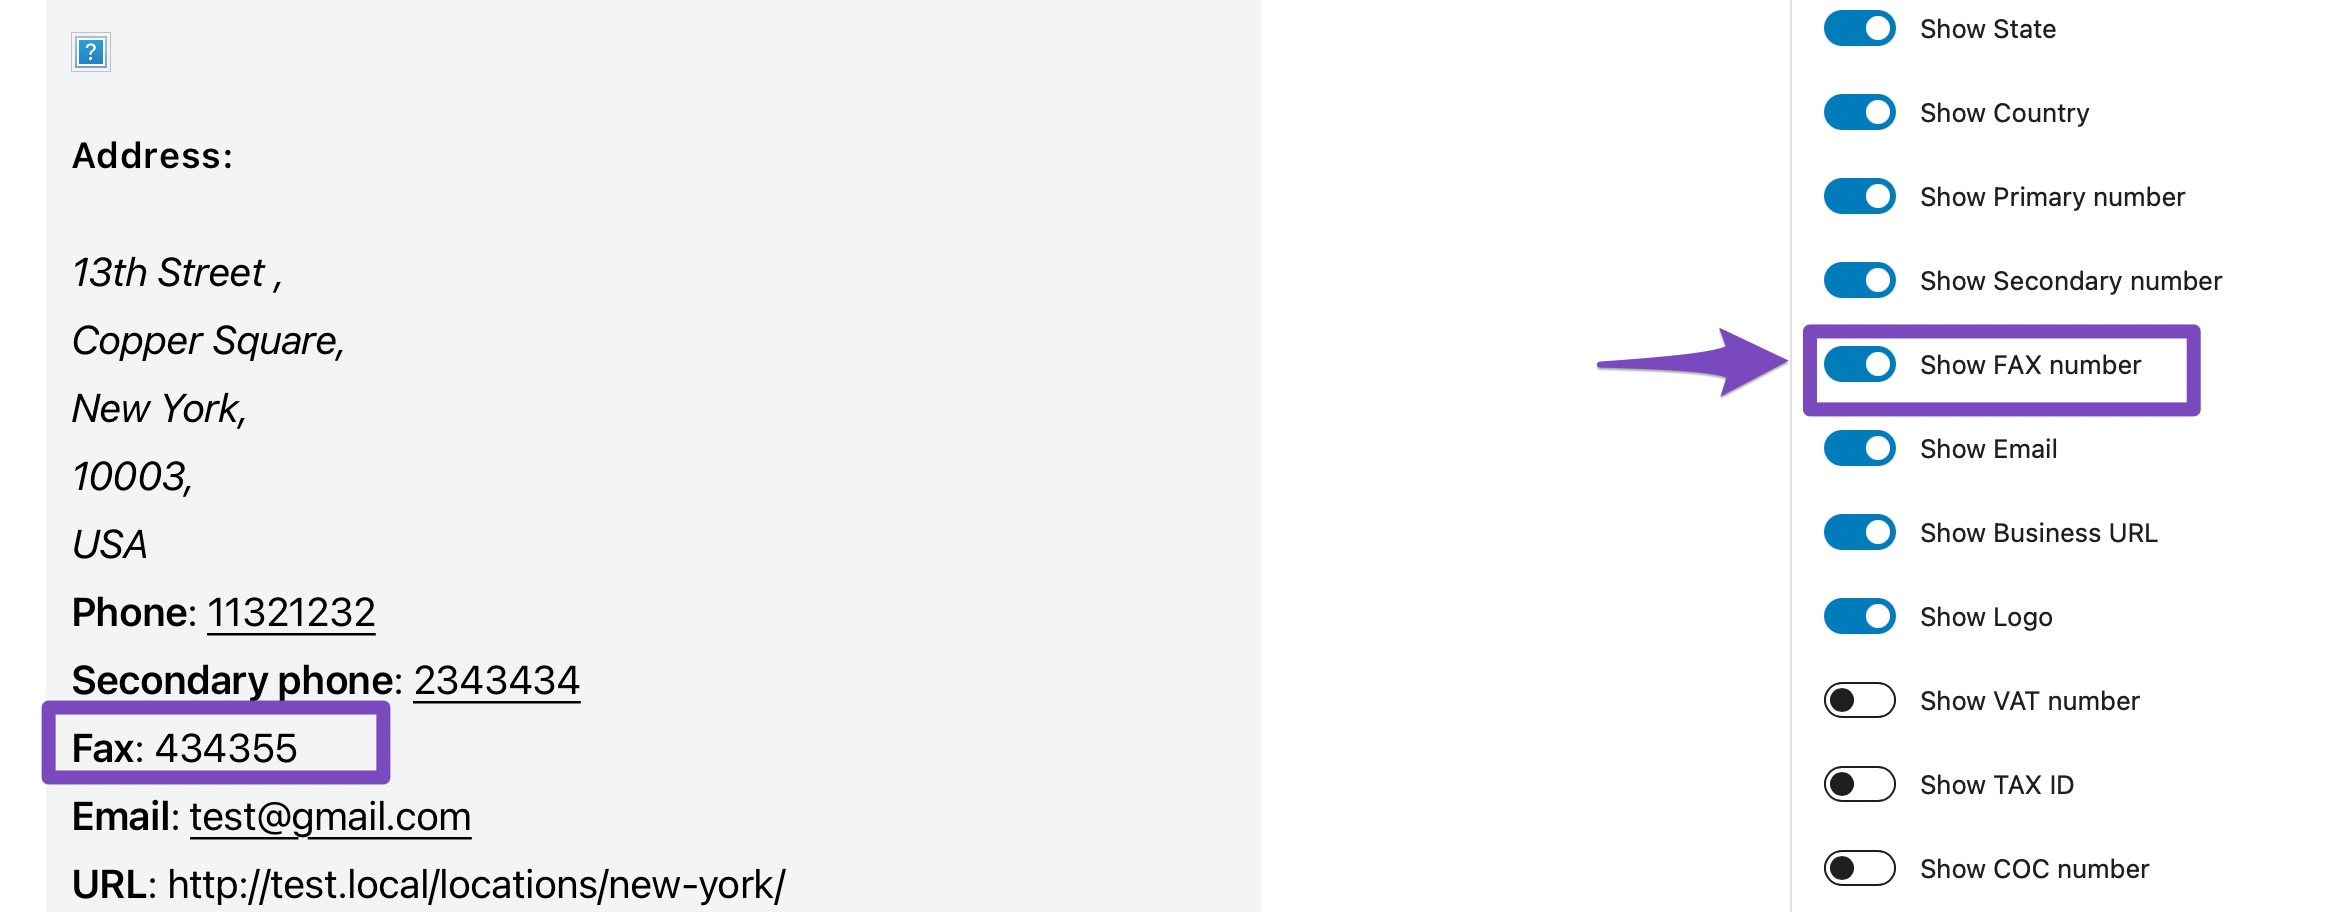
1.1.7 Show FAX Number
Show FAX number option will display the FAX number of your business if the option is enabled.
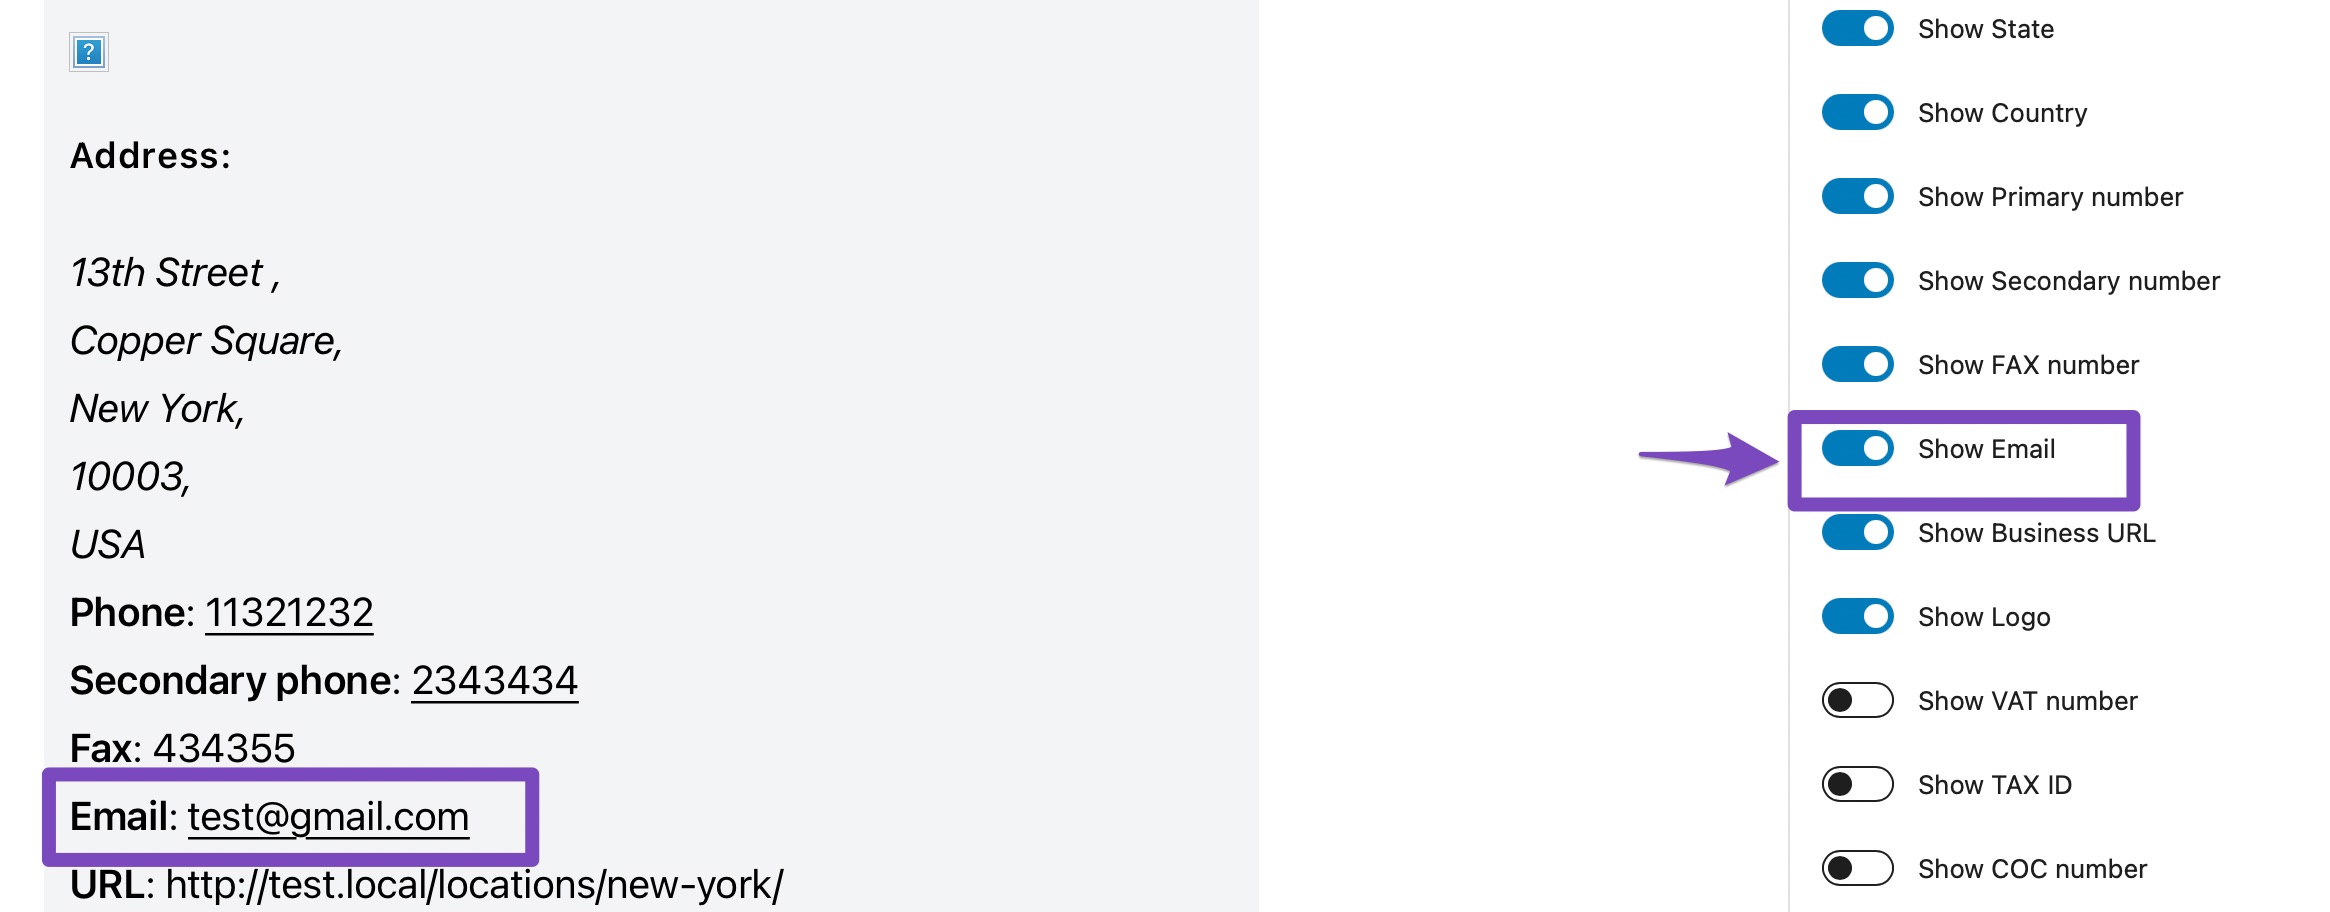
1.1.8 Show Email
Show Email option will display the email address of your business if the option is enabled.
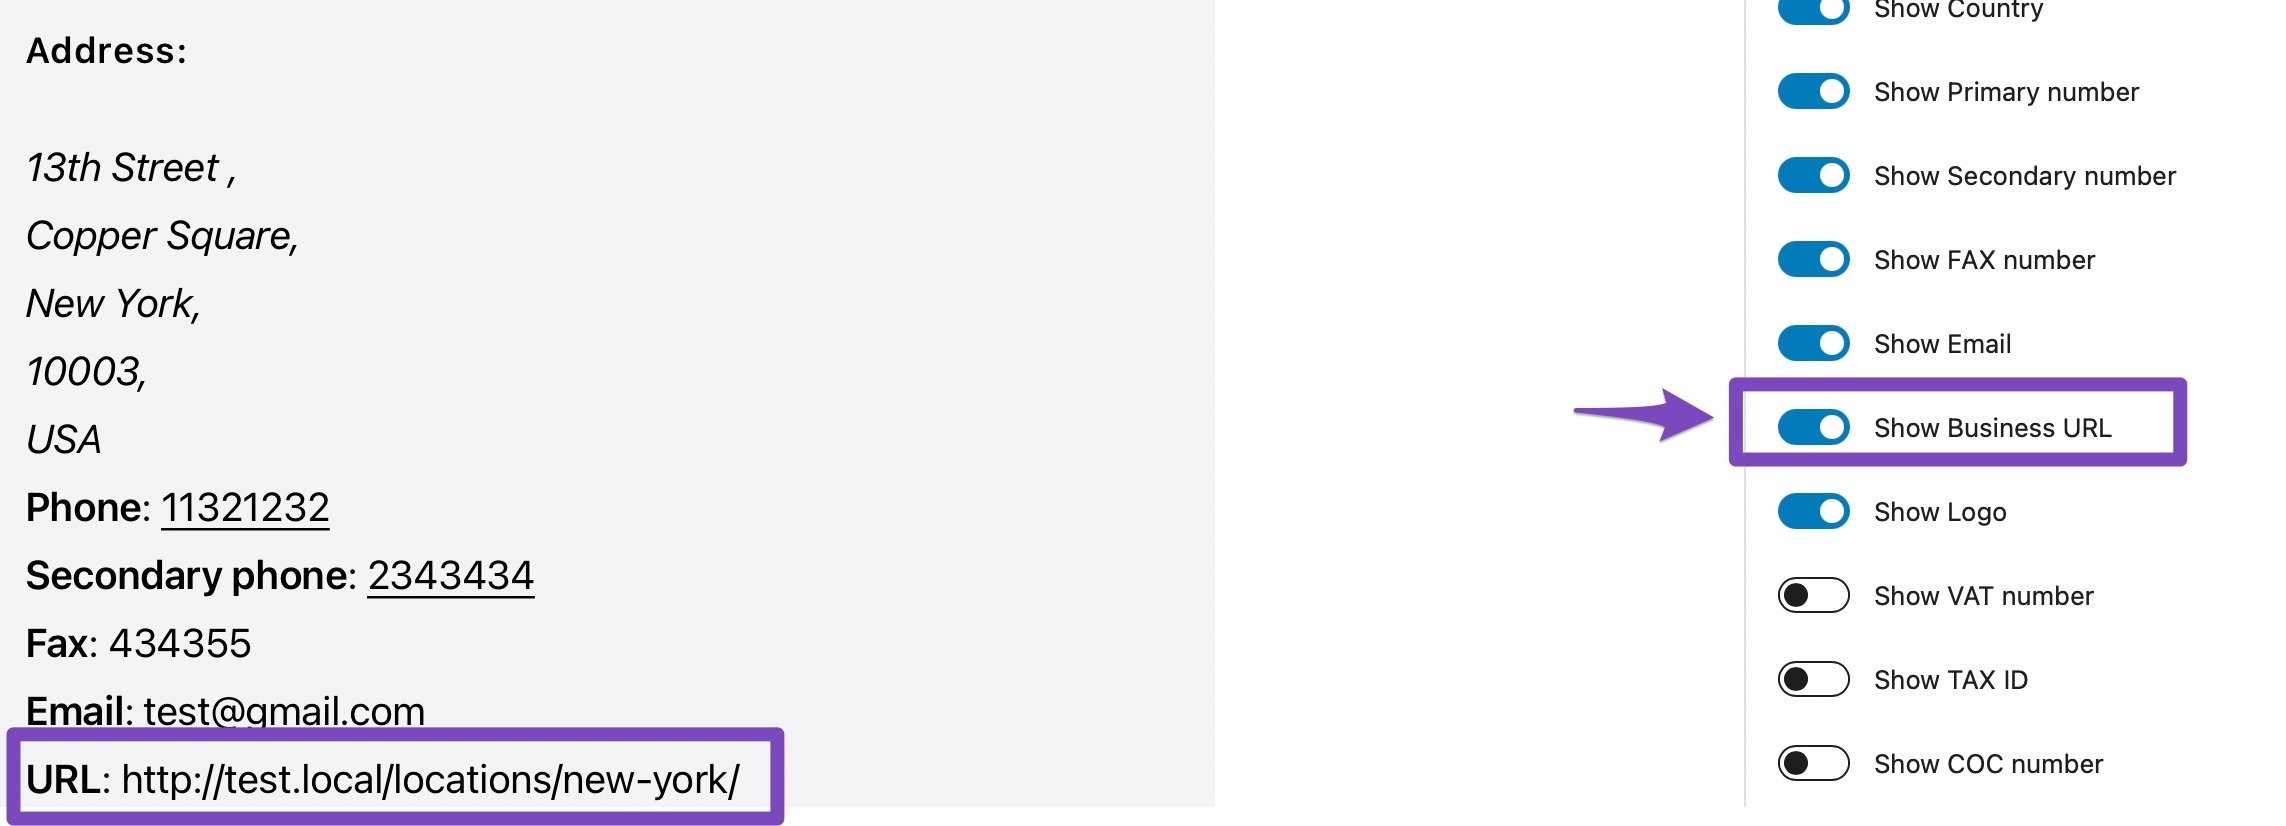
1.1.9 Show Business URL
Show Business URL will display the URL of your business if the option is enabled.
1.1.10 Show Logo
Show Logo option will display the logo of your business if the option is enabled.
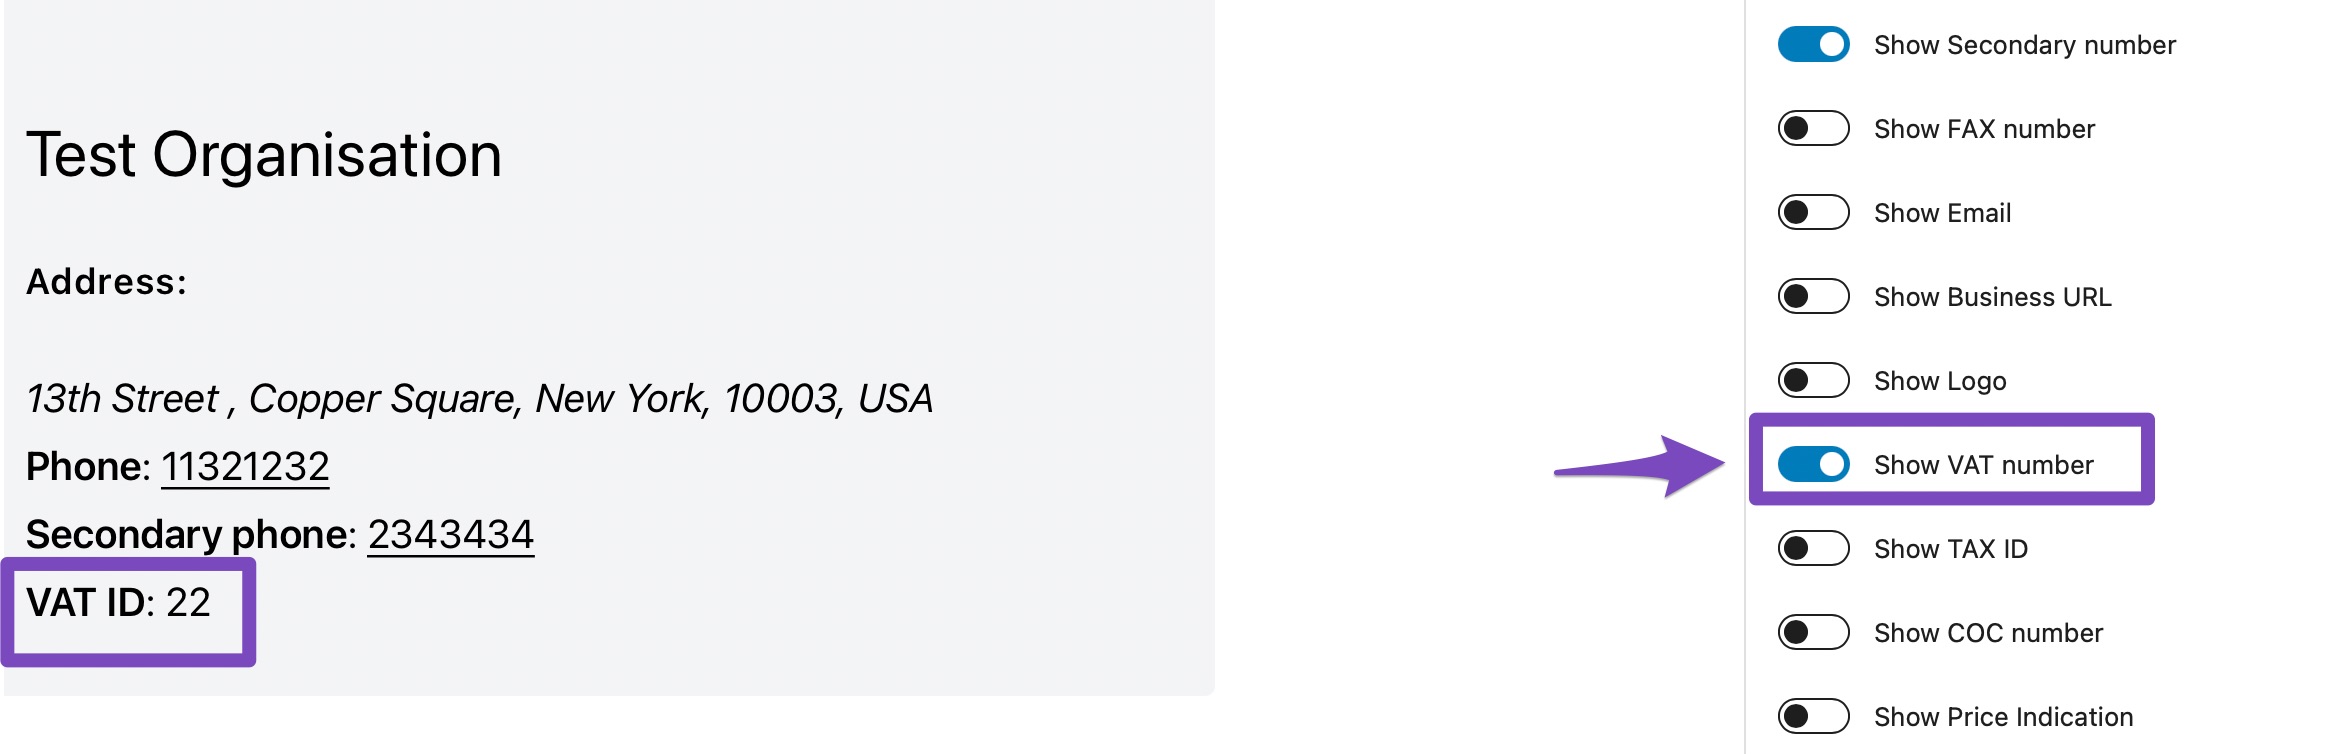
1.1.11 Show VAT number
Show VAT number option will display the VAT ID if the option is enabled.
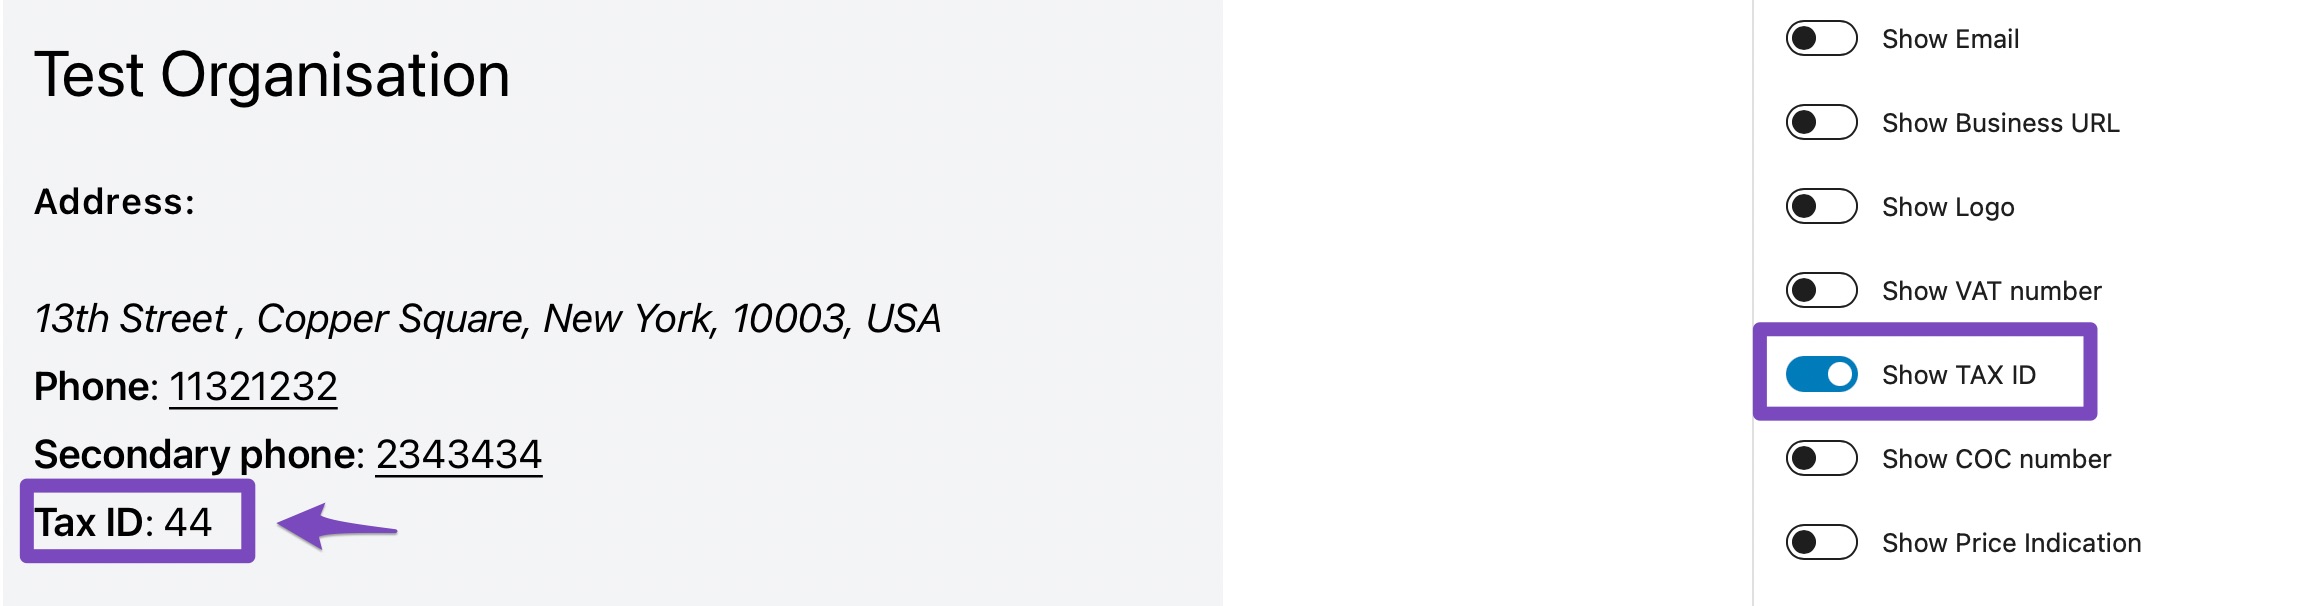
1.1.12 Show TAX ID
Show TAX ID option will display the Tax ID if the option is enabled.
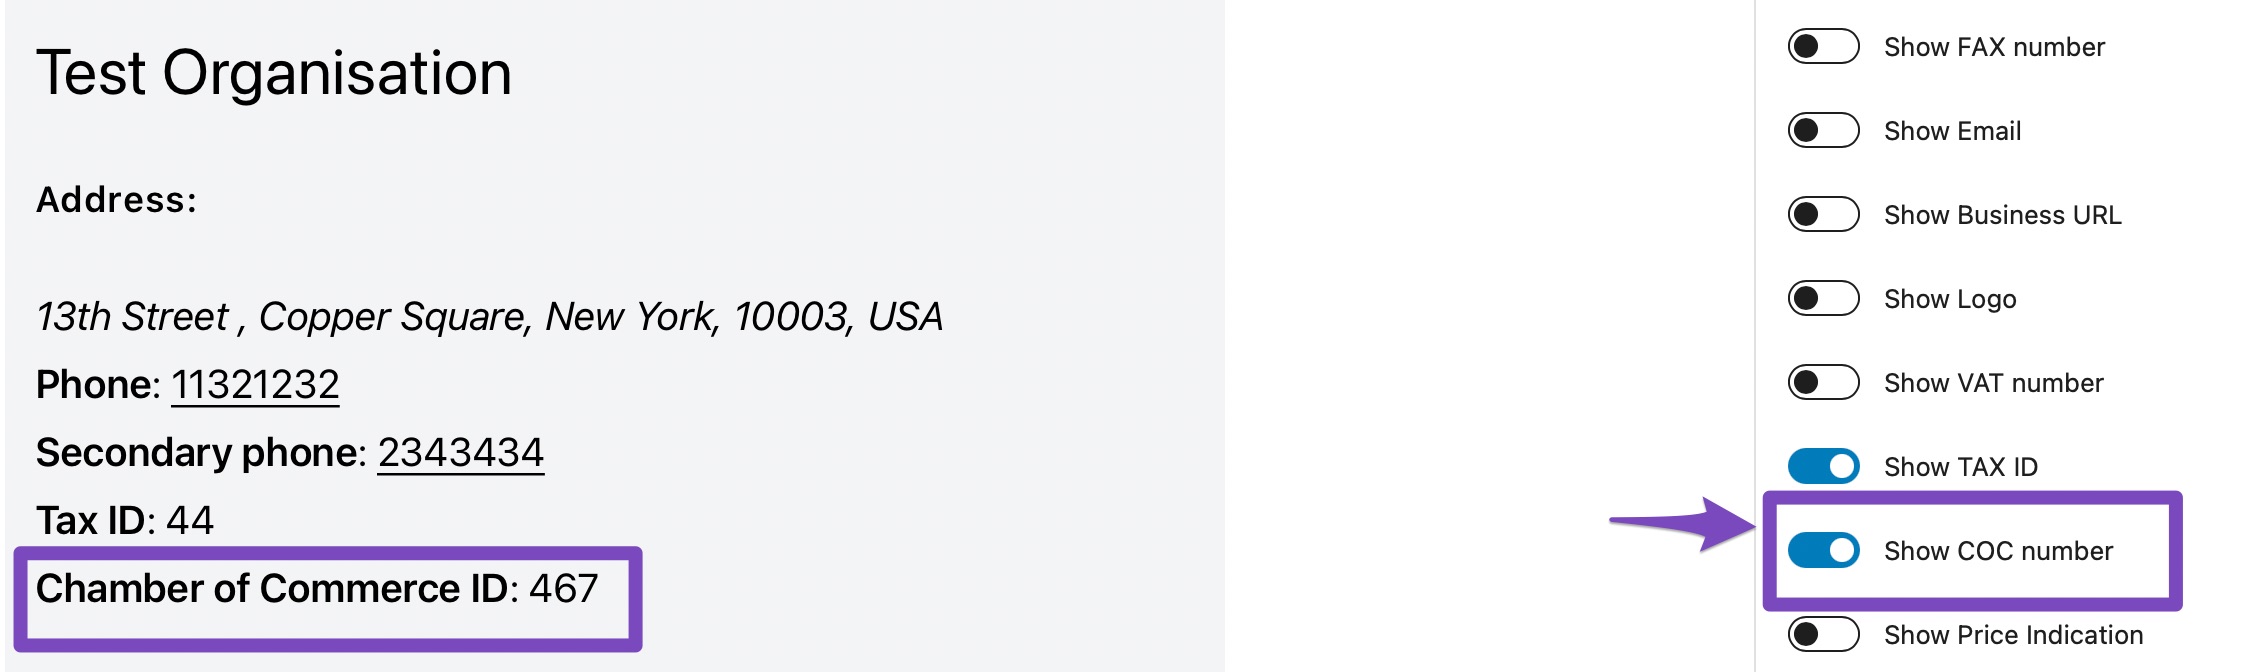
1.1.13 Show COC number
Show COC number option will display the Chamber of Commerce ID if the option is enabled.
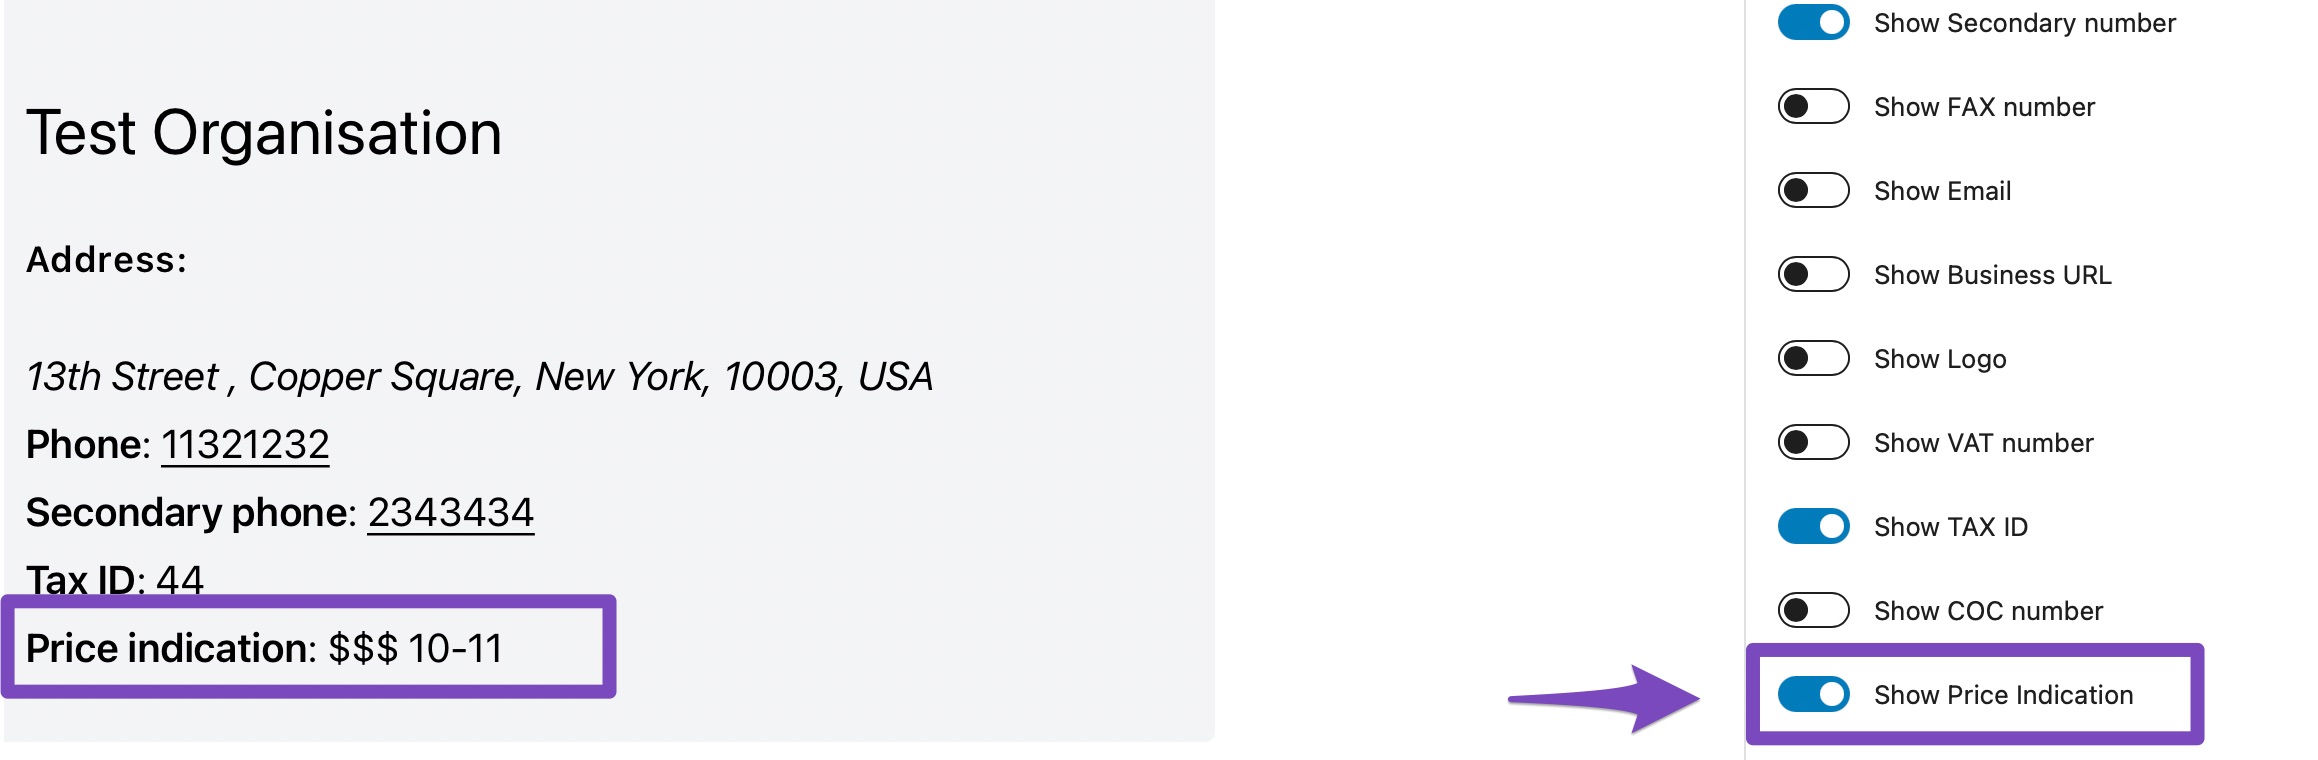
1.1.14 Show Price Indication
Show Price Indication will display the price range of your business if the option is enabled.
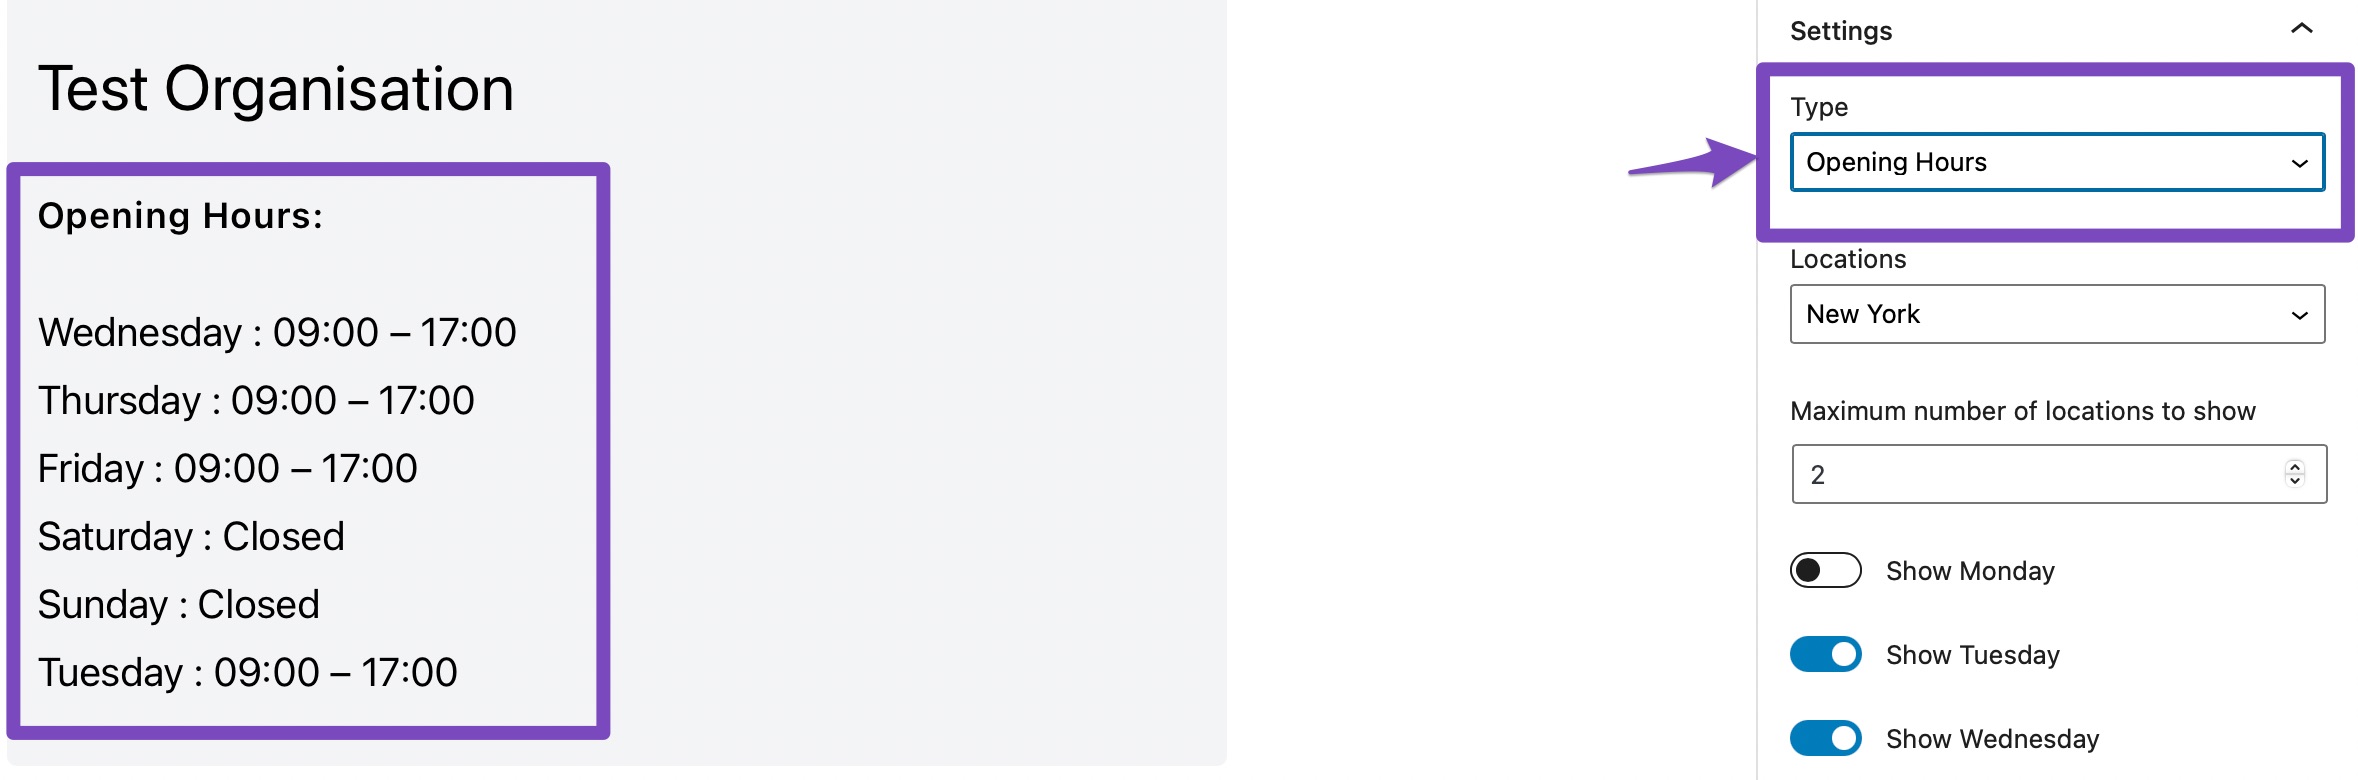
1.2 Opening Hours
Opening hours will display the days and time when your business is open.
Let’s look at the options available in the Opening hours:
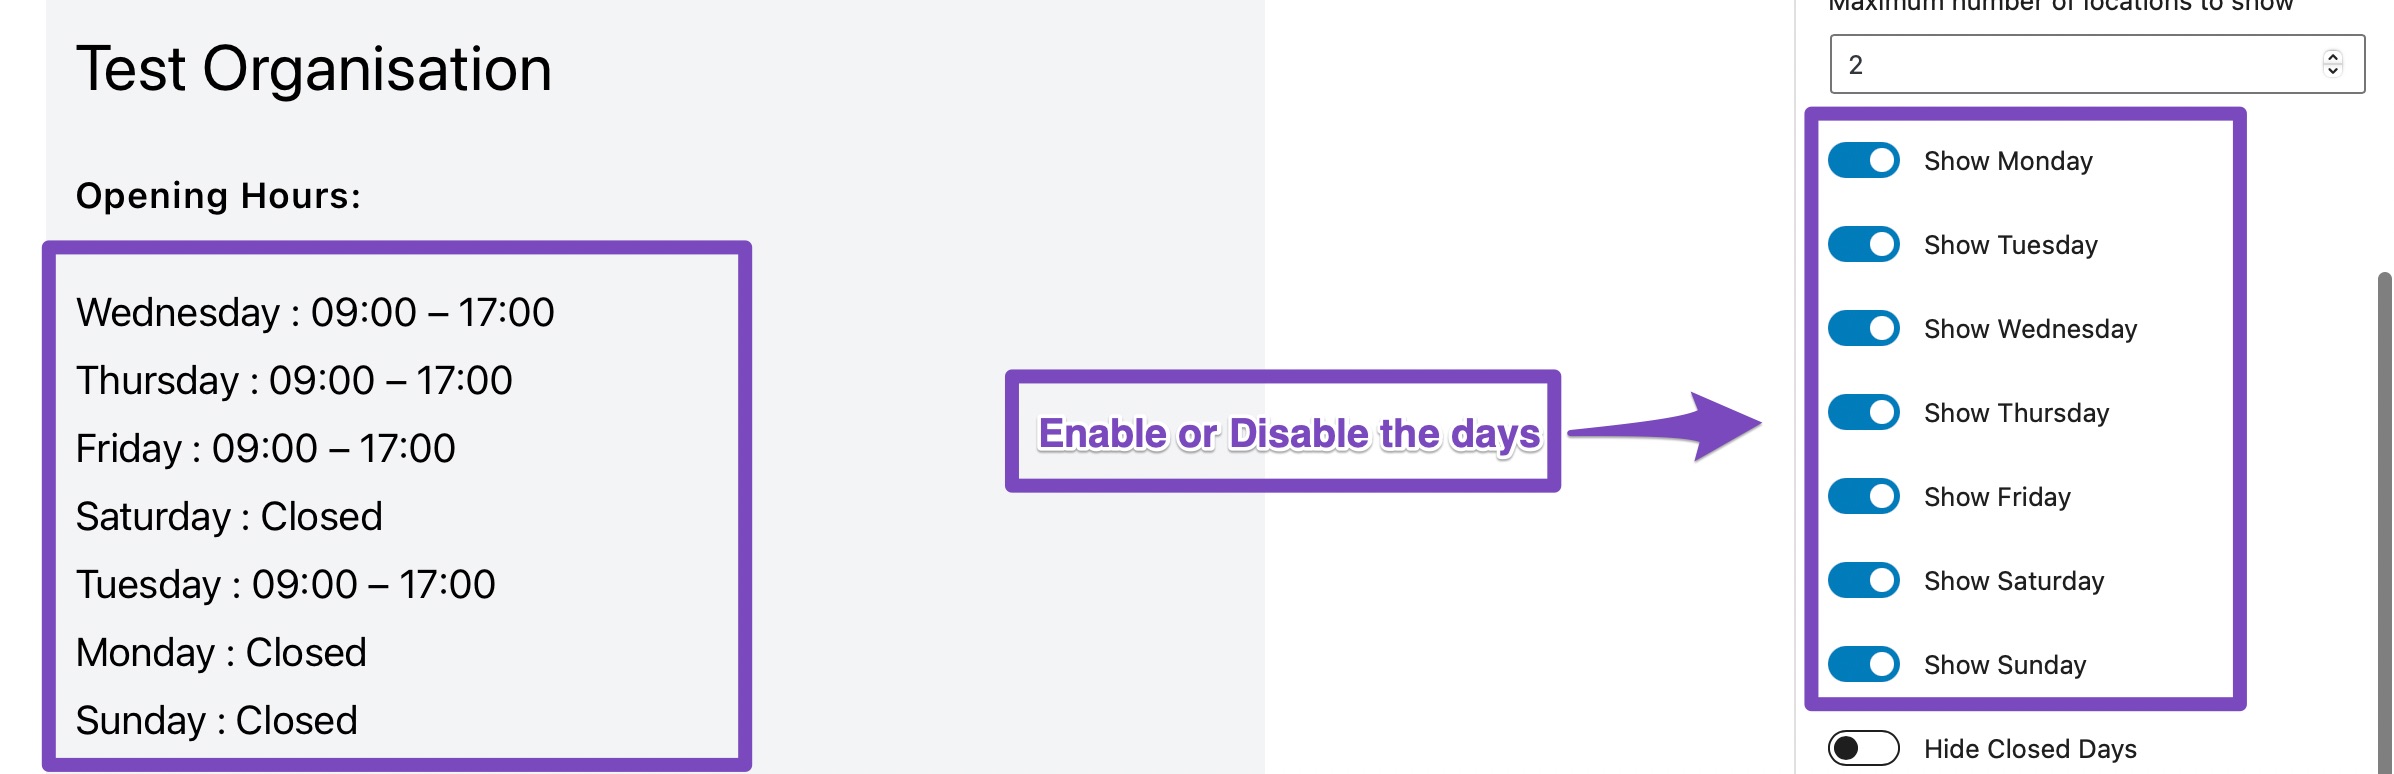
1.2.1 Enable/Disable the Days
You can select the days when your business is open or closed as shown below:
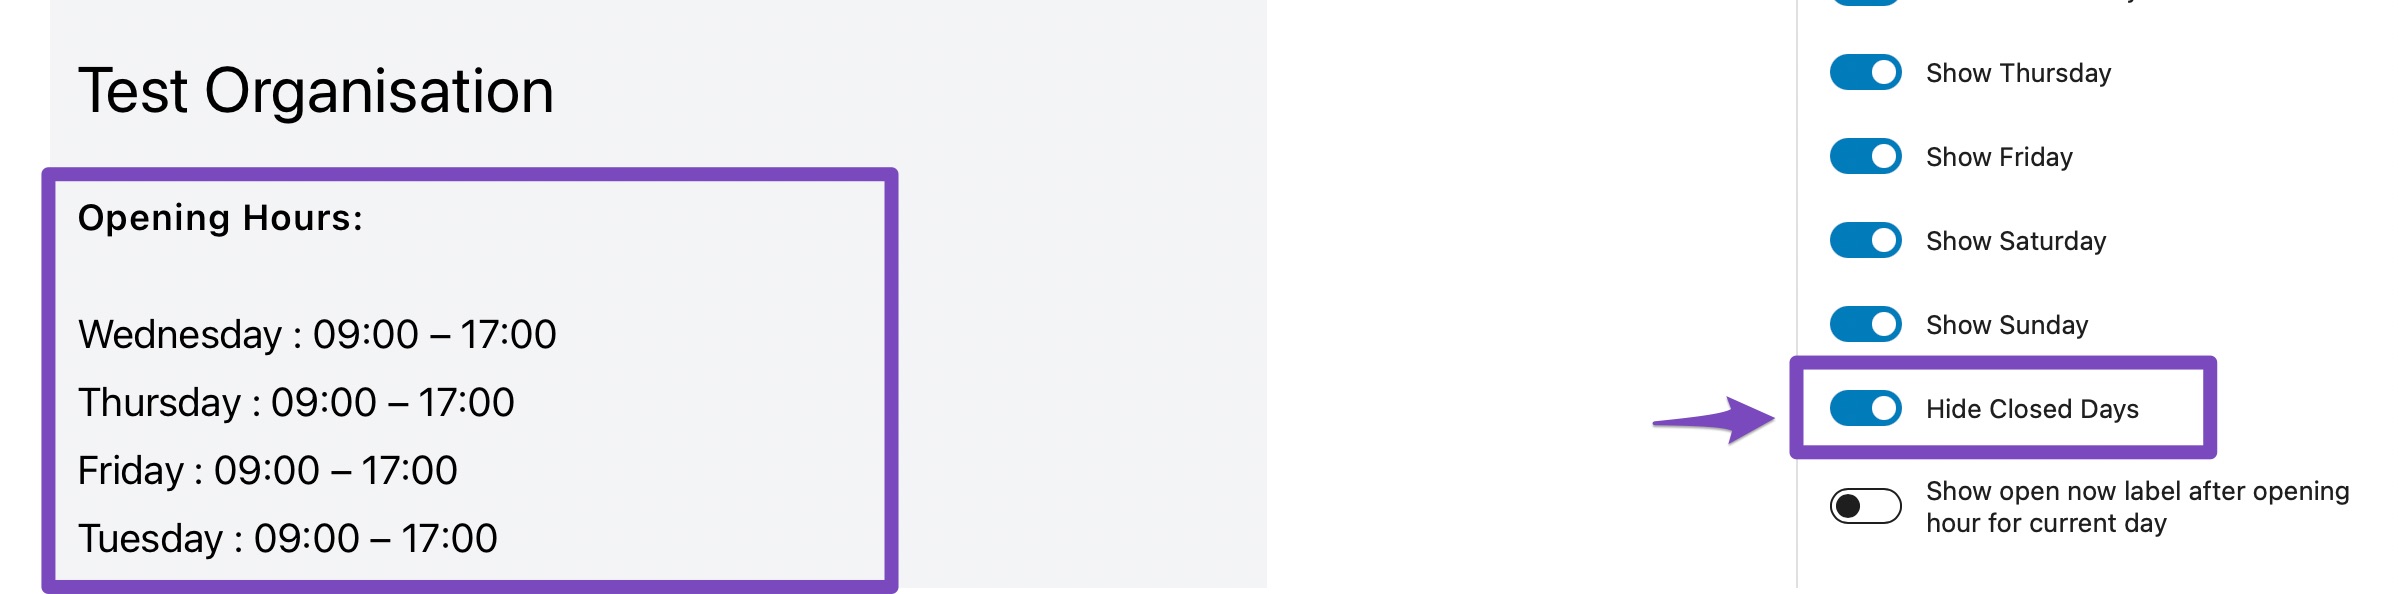
1.2.2 Hide Closed Days
If you enable this option, the days when your business is closed will not be displayed. It will only display the Opening hours of your business.
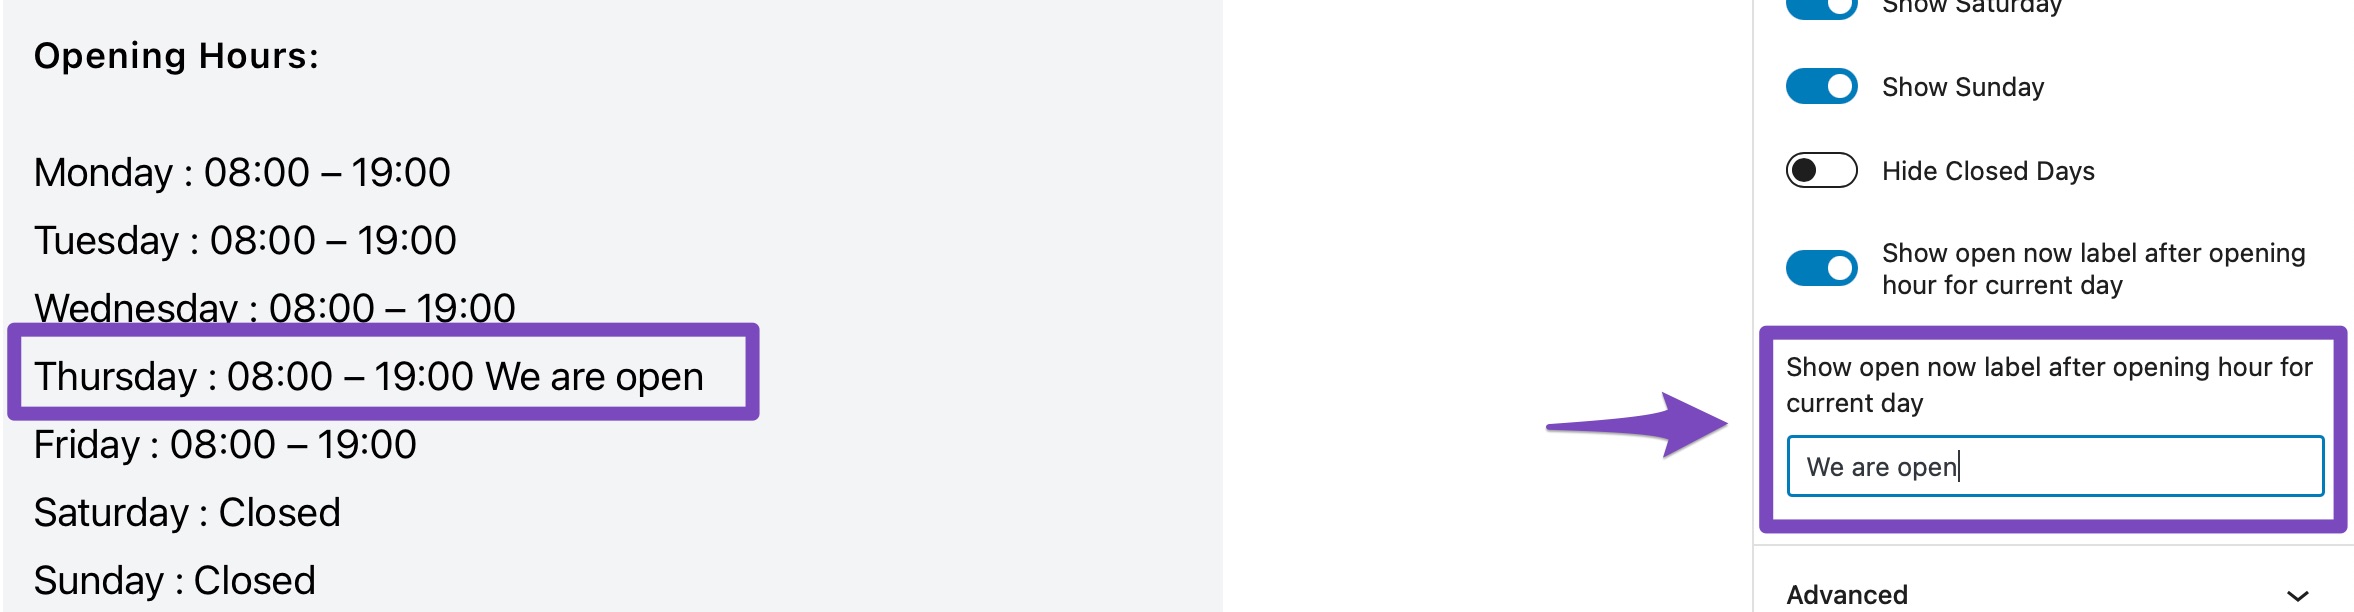
1.2.3 Show Open Now Label After Opening Hour for Current Day
This option displays the ‘Open Now’ label after the opening hour for the current day.

You can also change the label text as shown below:
1.3 Map
Map option let’s you display the location of your business on the map.
At first, you’ll have to create and enter the Google Maps API Key. Once you have created the key, paste it in Rank Math > Titles & Meta > Google Maps API Key.
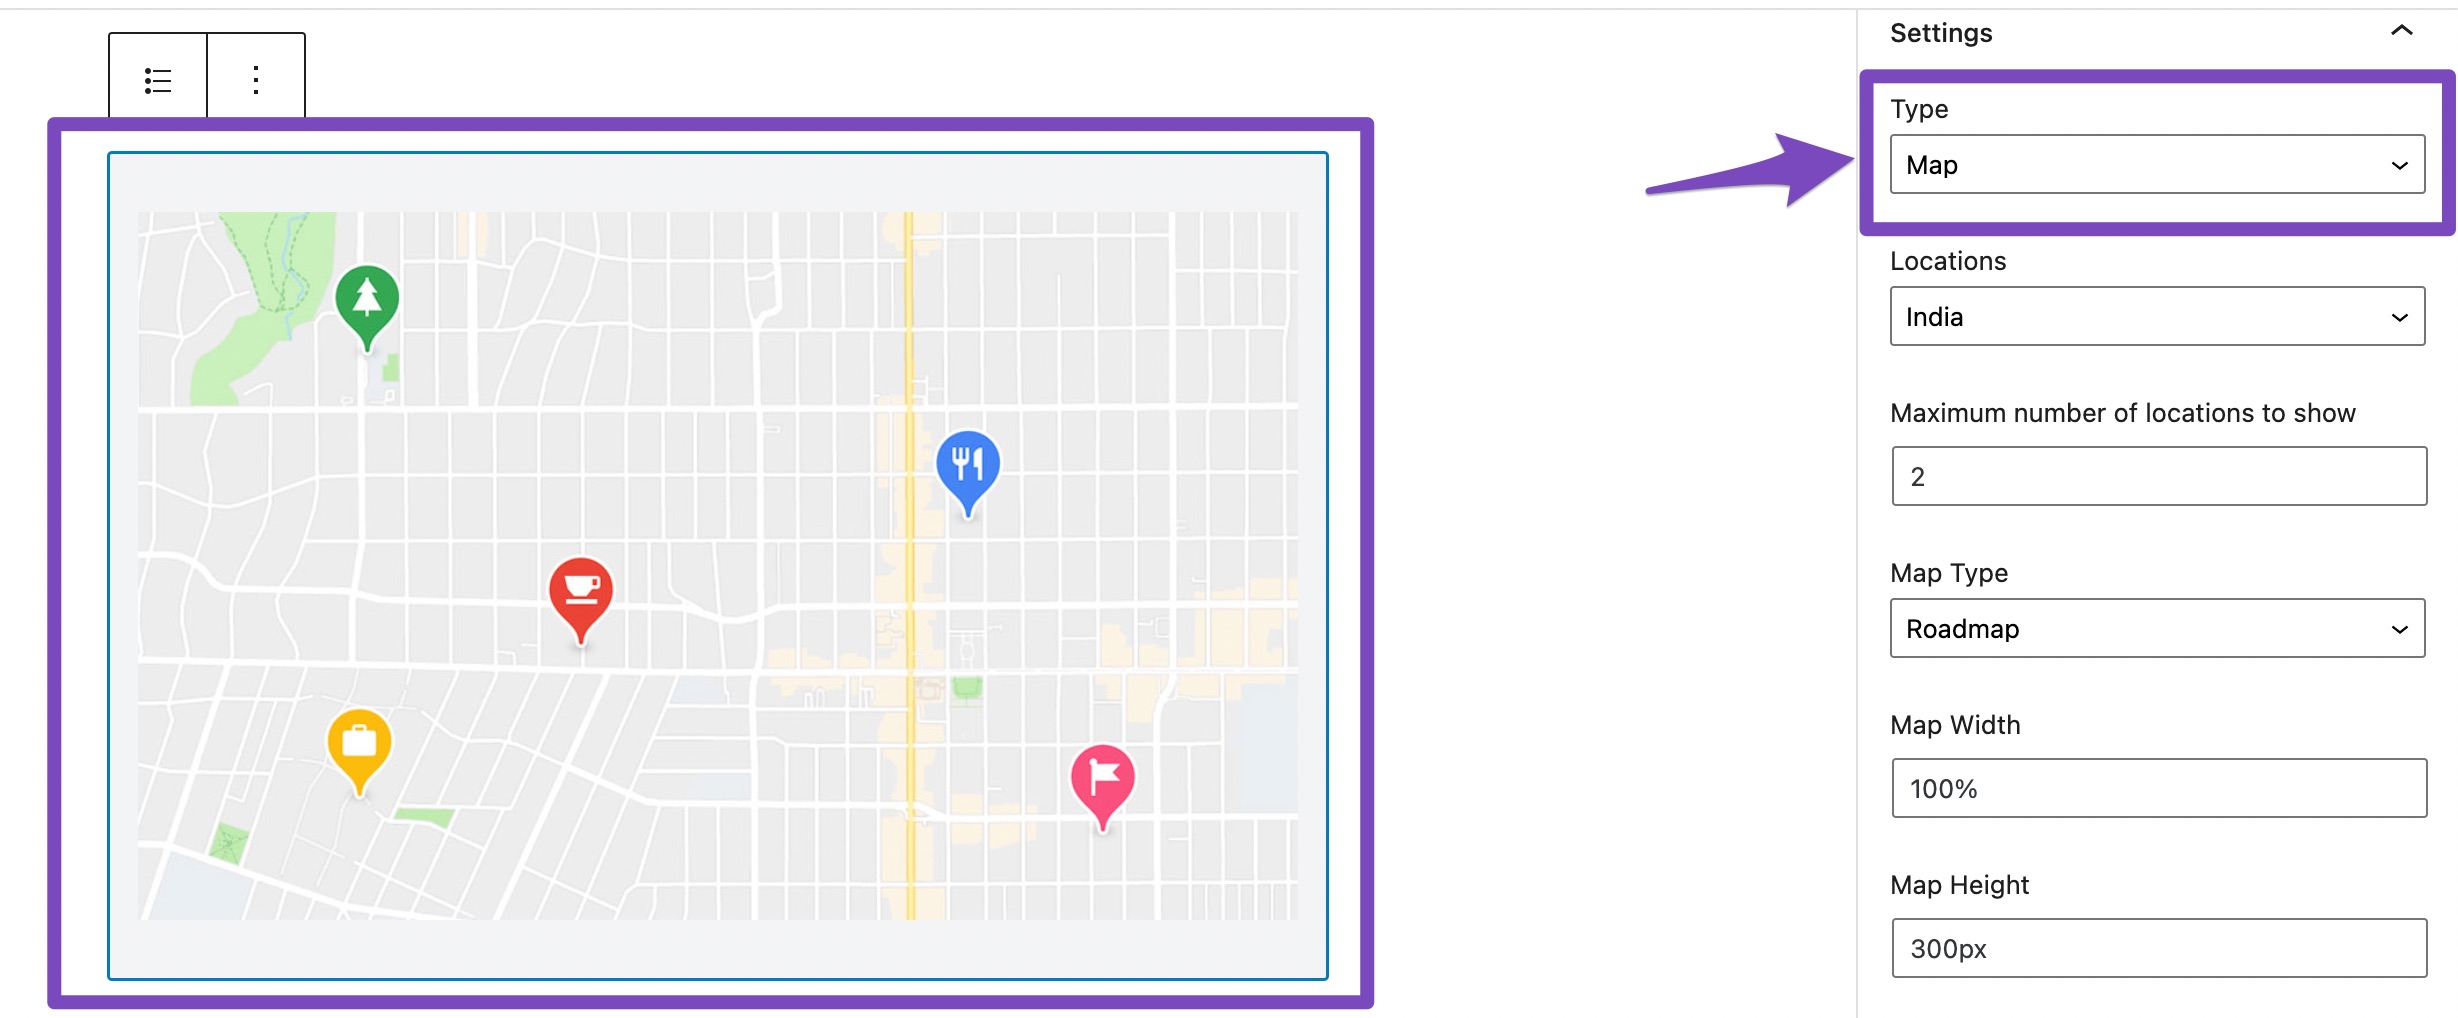
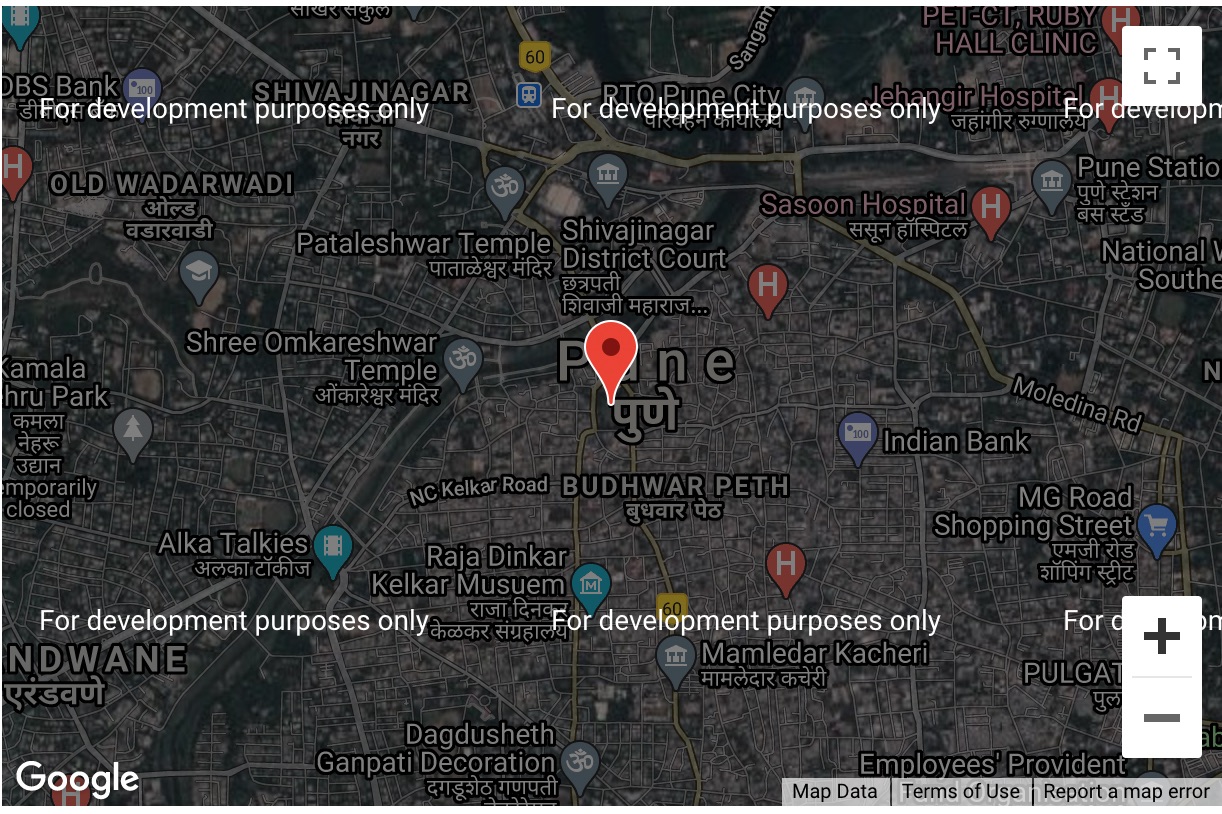
This is how the map will be displayed:

1.3.1 Map Type
You can select the map type from the options available.
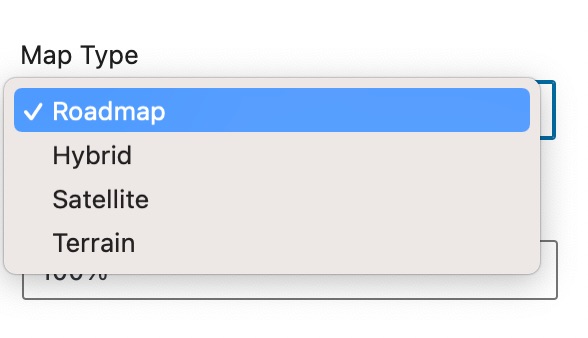
If you select the map type as RoadMap from the drop-down list, then a roadmap will be displayed and so on.
1.3.2 Map Width
Map Width option will let you set the width of the map.
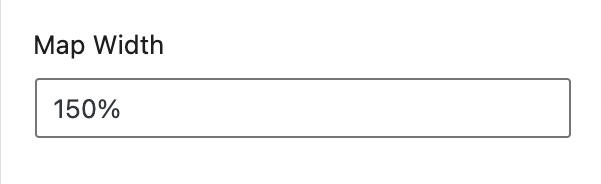
The map will reflect the changes as per the width that is set in this option.
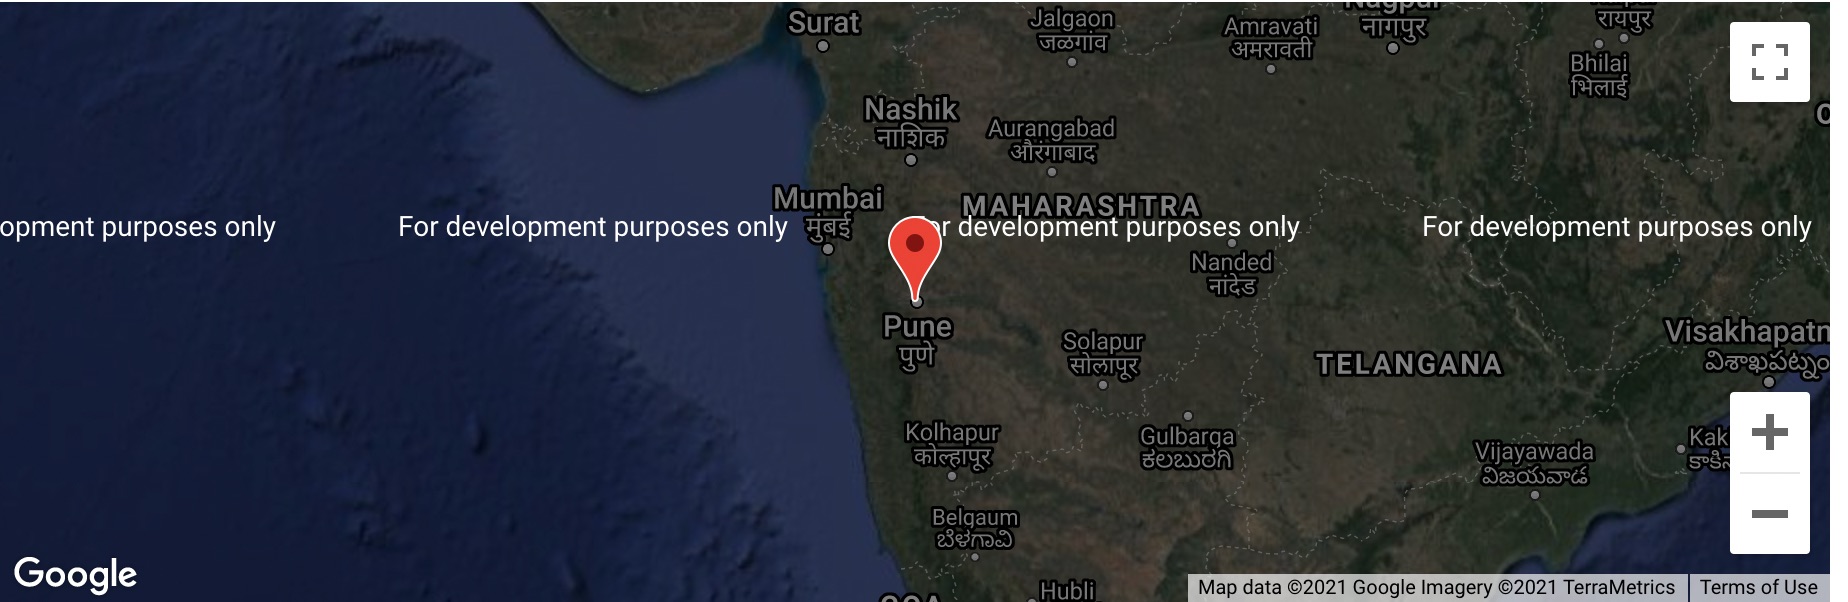
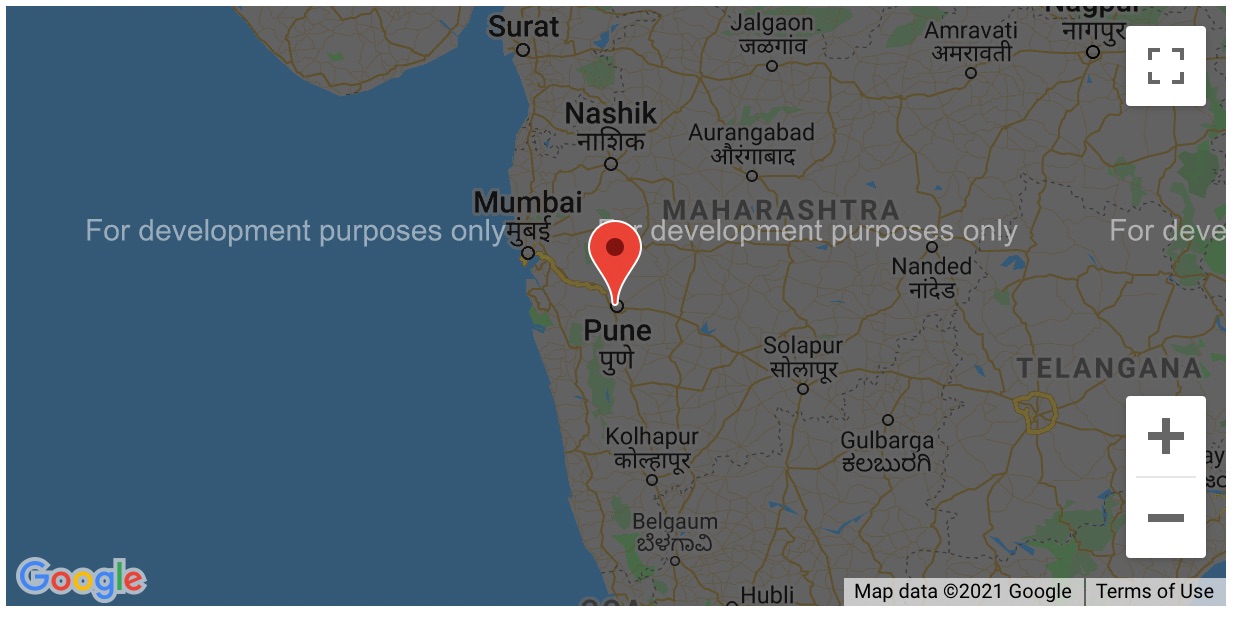
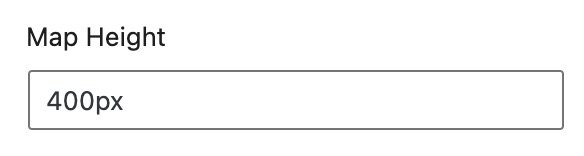
1.3.3 Map Height
Map Height option will let you set the height of the map.
This is how the map will look like:

1.3.4 Zoom Level
You can set the zoom level for the map with this option by increasing or decreasing the slider.
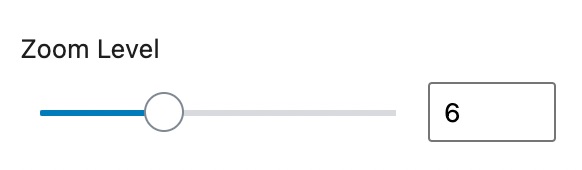
This is how the map will look like:
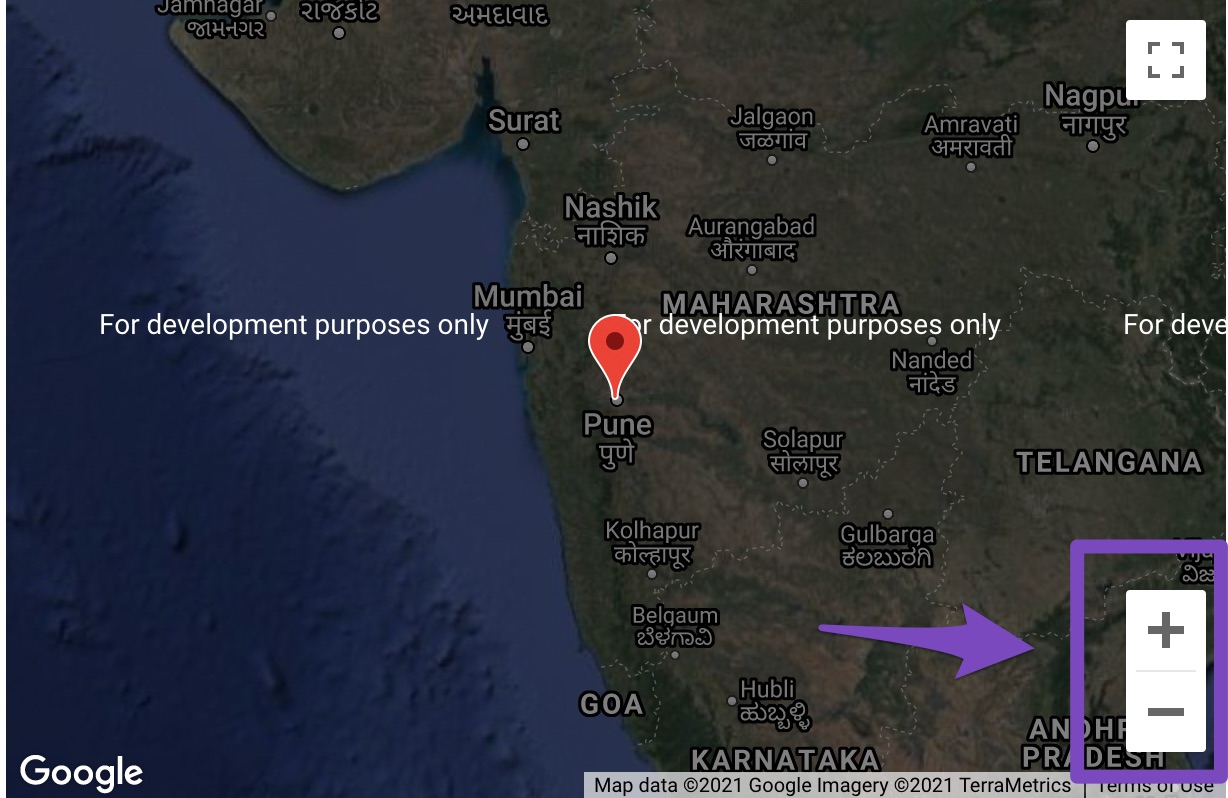
1.3.5 Allow Zoom
You can either enable or disable this option if you wish or do not wish to zoom the map respectively.

If enabled, you can zoom the map with the ‘+’ and ‘-‘ sign as shown below:
1.3.6 Allow Zoom by Scroll
This option allows to zoom the map by scrolling it. You can easily scroll the map if this option is enabled. If you do not wish to scroll the map then simply disable the option.

1.3.7 Allow Dragging
This option allows you to drag the map. Either enable or disable the option to allow or disallow the dragging respectively.

1.3.8 Show Marker Clustering
You can either enable or disable this option if you wish or do not wish to show marker clustering on the map.

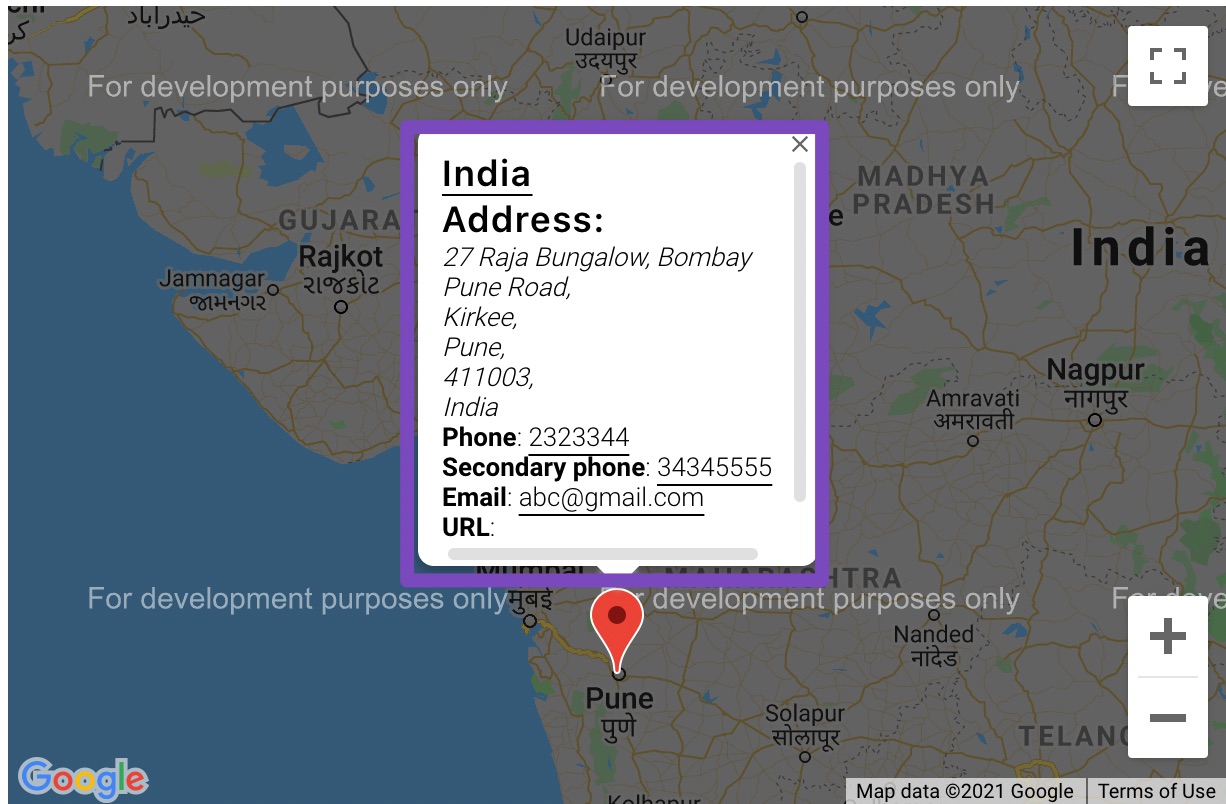
1.3.9 Show Info Window
Show Info Window option displays the information of the location on the map if enabled. You can disable this option if you do not wish to display the information of your location on the map.

This is how the map will display the locations information when the option is enabled:
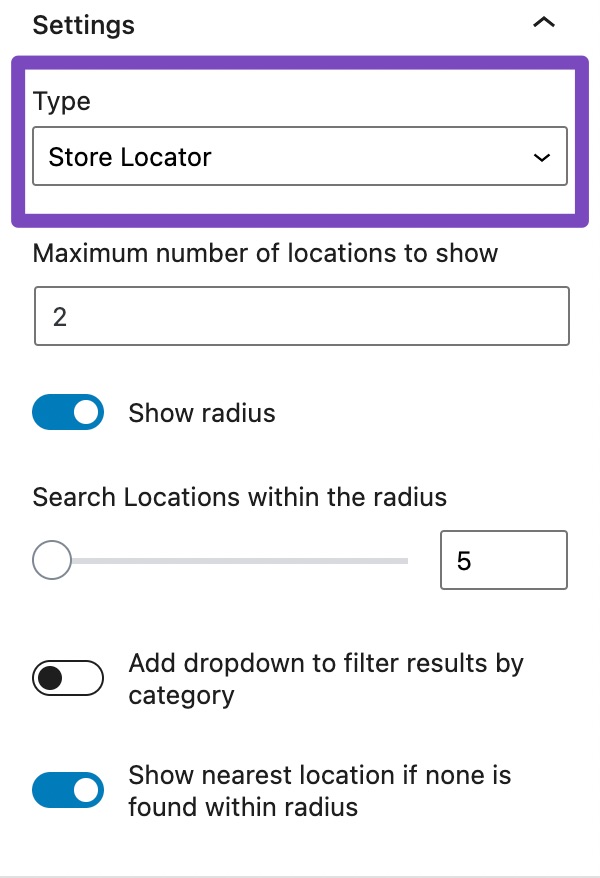
1.4 Store Locator
The store locator settings will let you display and change the number of results that are shown in the store locator. You can also search within a given radius and look out for the nearest location if nothing is found within that given radius.
2 Locations
You can choose the locations that you want to display from this option. You can also select All Locations from the drop-down list if you wish to display all the locations of your business .
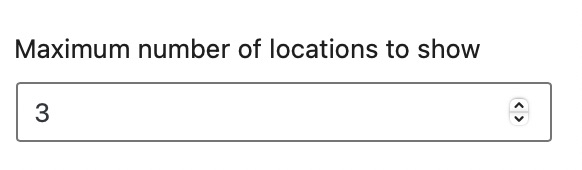
3 Maximum Number of Locations to Show
This option lets you choose the number of locations that you want to display.
We hope that this tutorial has helped you to clearly understand all of the settings available in Rank Math’s Local Business Block. However, if you still have any questions, please feel free to contact our support team.